
If you want to make payments easier on your website, the Authorize.Net add-on for Everest Forms is a great solution. With this tool, your users can securely pay with their credit cards without leaving your site. It’s perfect for both one-time payments and regular subscriptions. In this guide, we’ll show you how to use it to improve your online business.
Installation #
- Firstly, you need to purchase the Everest Forms Pro plugin.
- After the successful purchase, you will get the plugin zip file under your WPEverest account page.
- Now, you can download the Everest forms pro plugin and Authorize.net add-on from there.
- Through your WordPress Dashboard, visit Plugins -> Add New -> Upload and then choose the downloaded zip file and then install and activate it.
- Now you are ready to use this add-on for your site.
Alternative Method:
- Once you have entered the Everest Forms Pro license on your site, go to Everest Forms > Add-ons.
- Search for the ‘Authorize.net‘ add-on.
- Click on ‘Install‘.
- Once the installation is finished, click on ‘Activate‘. The add-on will be activated.
Setup and Configuration #
Once you have installed and activated the Authorize.net add-on, navigate to the following location.
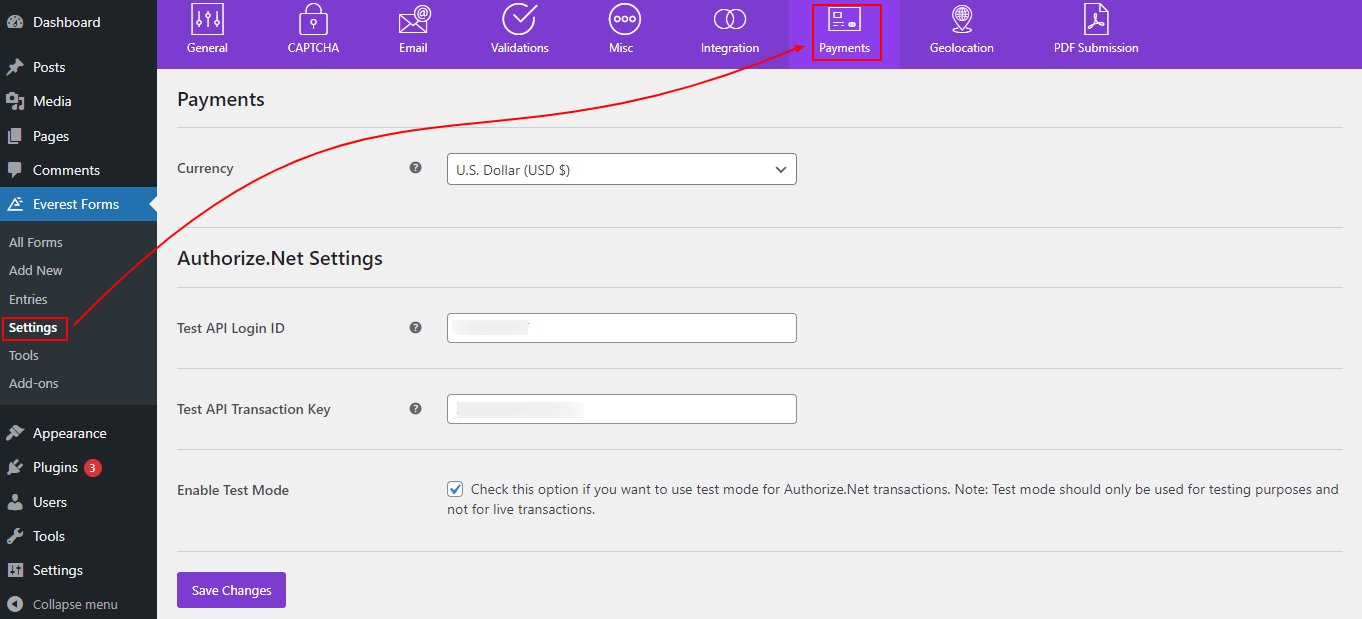
Everest Forms > Settings > Payments
Getting API Keys #
You can use either Live or Test APIs with the Authorize.net payment system. To generate the API, follow the steps below.
- Sign In to the Authorize.net account.
- If you don’t have an account, create one.
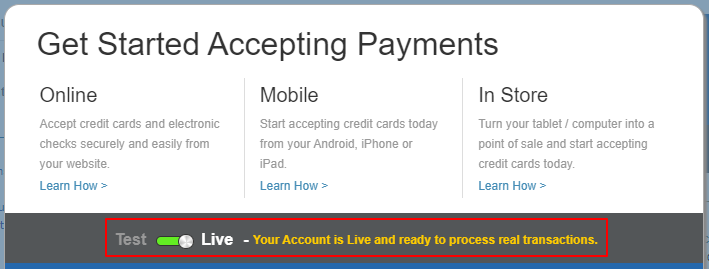
- Once you are logged in, you will see a popup from which you can toggle between live or test mode.
- You can remove the popup from the available buttons and then go to Account > Settings.
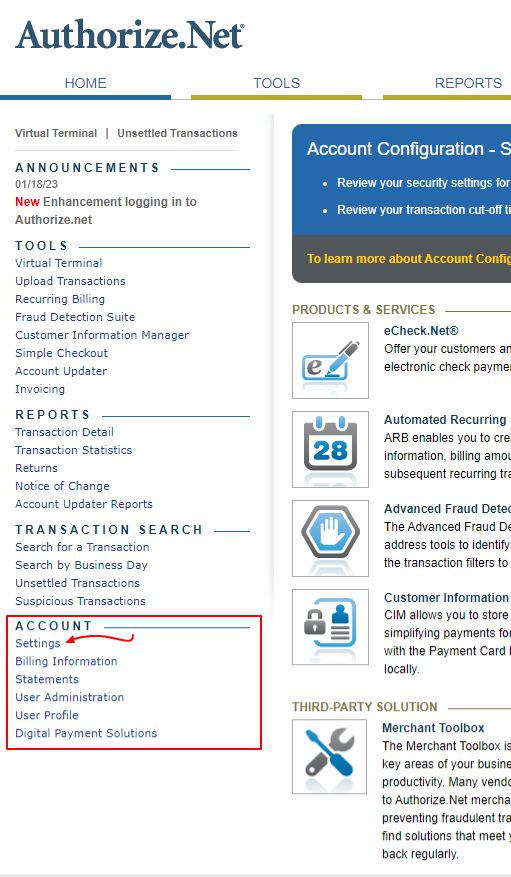
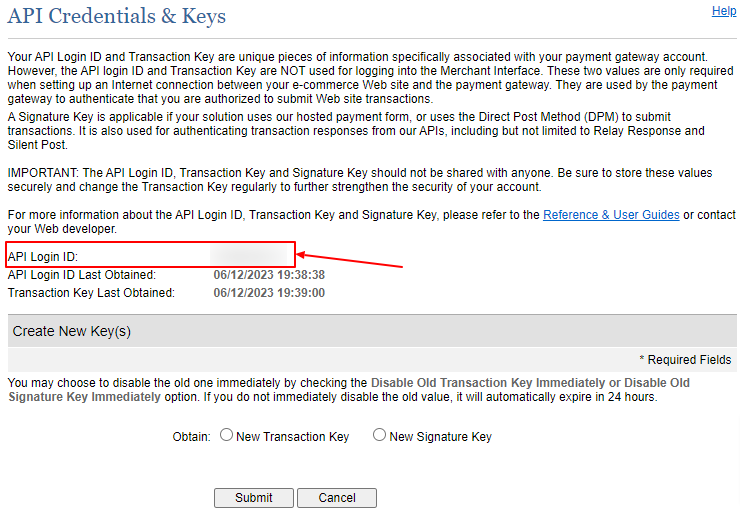
- Inside Settings, click on API Credentials & Keys. Here, you will find the necessary keys.
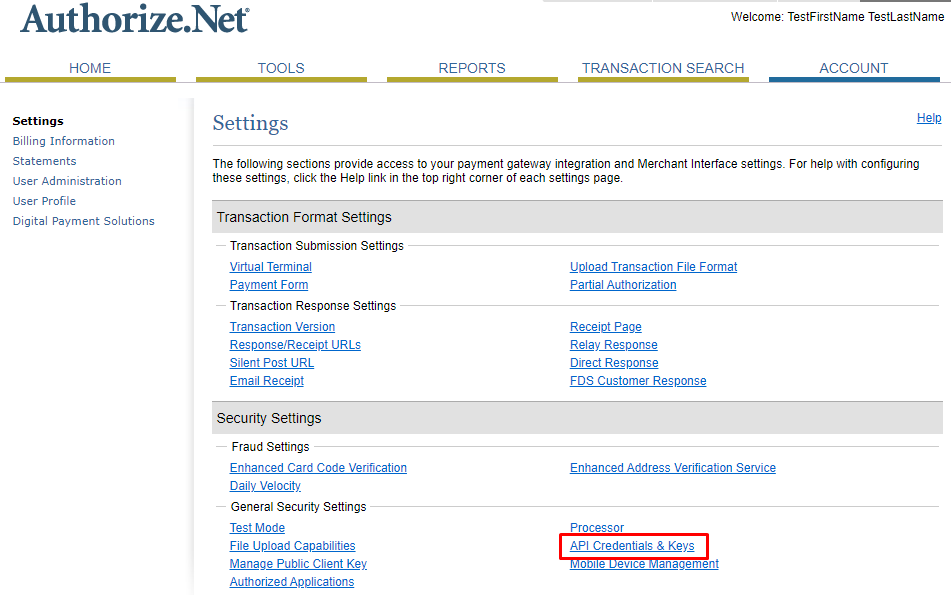
- You will need an API Login ID and a Transaction key. When you create an account, you will be given with both of these keys in the beginning.
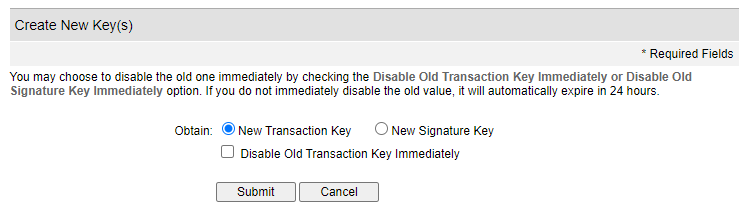
In this tutorial, we assume that you have to create a new transaction key. For this, you can click on the ‘New Transaction Key‘ option and click on Submit.
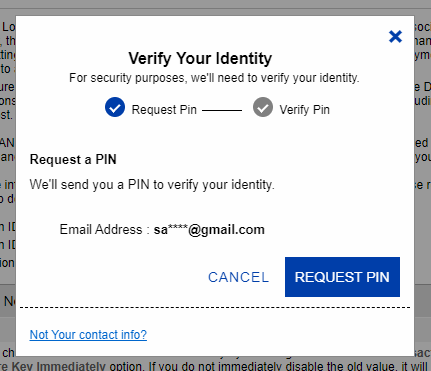
After clicking on the submit button, the app will require you to put the verification key sent to your email. You can request this key by clicking on the ‘Request Pin’ button on the pop-up.
Once you’ve verified your identity, Authorize.Net will display your Transaction Key. Click the Copy to Clipboard button.
Now, after copying both the API login key and the Transaction Key, you can now connect the Everest Forms with the Authorize.net payment portal.
Integrating Authorize.net API keys with Everest Forms #
Now, go to Everest Forms > Settings > Payments. Here, you will find the option to add the above keys.
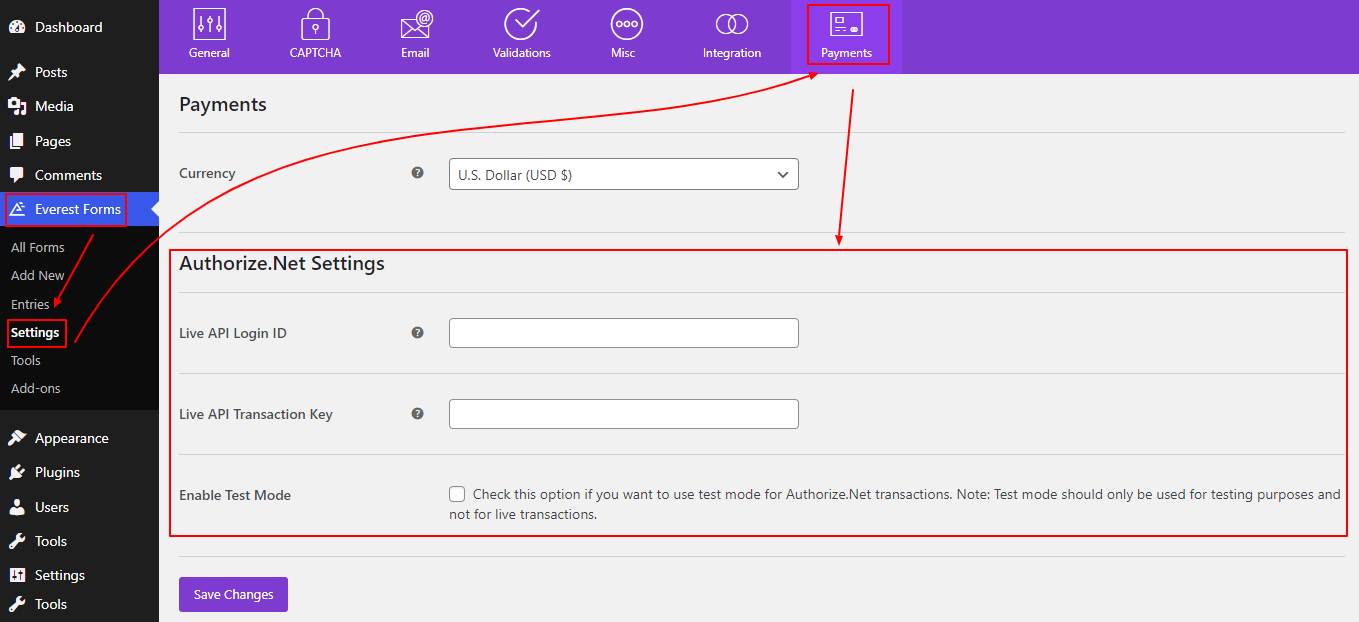
For Live mode, add the keys to the live section. For using a test mode, Enable Test Mode and enter the test keys respectively.
For testing the Authorize.net payment, you will need to create a sandbox account from here.
Once you have entered the required keys, click on Save Changes.
How to enable Authorize.net in Everest Forms? #
Once all the above settings are completed, you can create a form for your payments and enable RazorPay on that form.
- Go to Form Builder.
- Click on Payments.
- Click on Authorize.Net.
- Enable the Authorize.Net
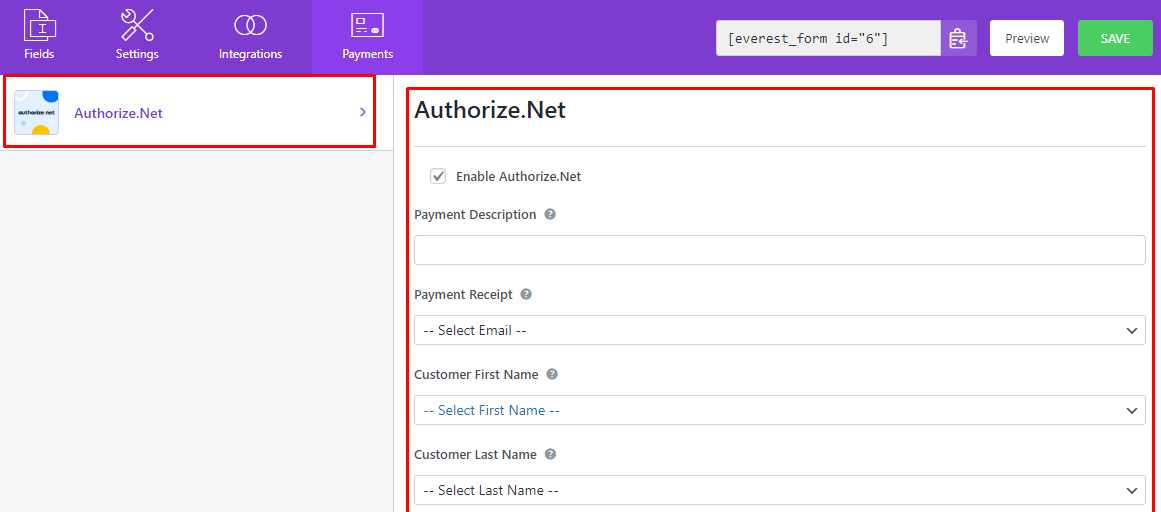
Fill in the required information and map the required fields as per the given options. Click on Save. You have successfully enabled the Authorize.Net payment in your Everest Forms.
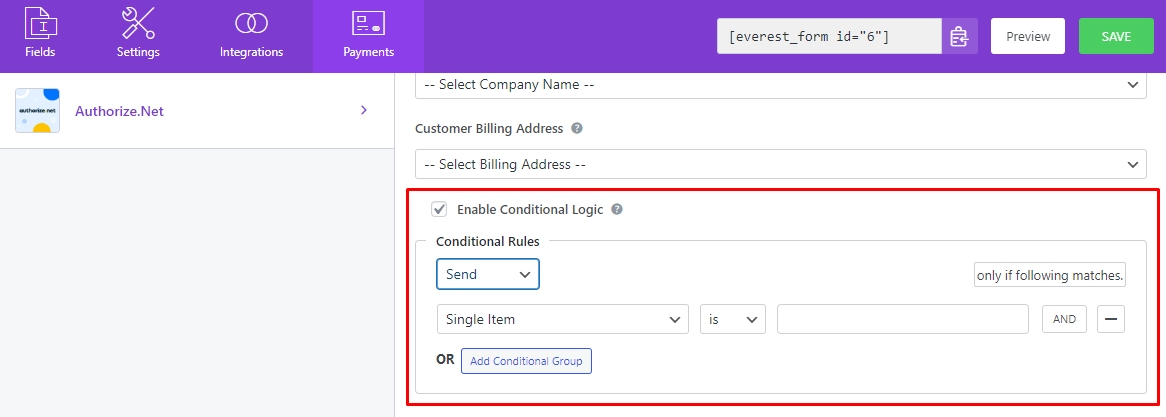
Use Conditional logic for Stripe: #
#
You can enable conditional logic with the Authorize.Net payment system. You can either choose Send or Don’t Send option based on the user’s input in the available form field. For this, scroll to the bottom of the Authorize.Net settings in the individual form settings. Enable Conditional Logic. Set the required condition and click on Save.
Enable Subscription #
It is possible to create subscription-based forms using the Authorize.Net add-on.
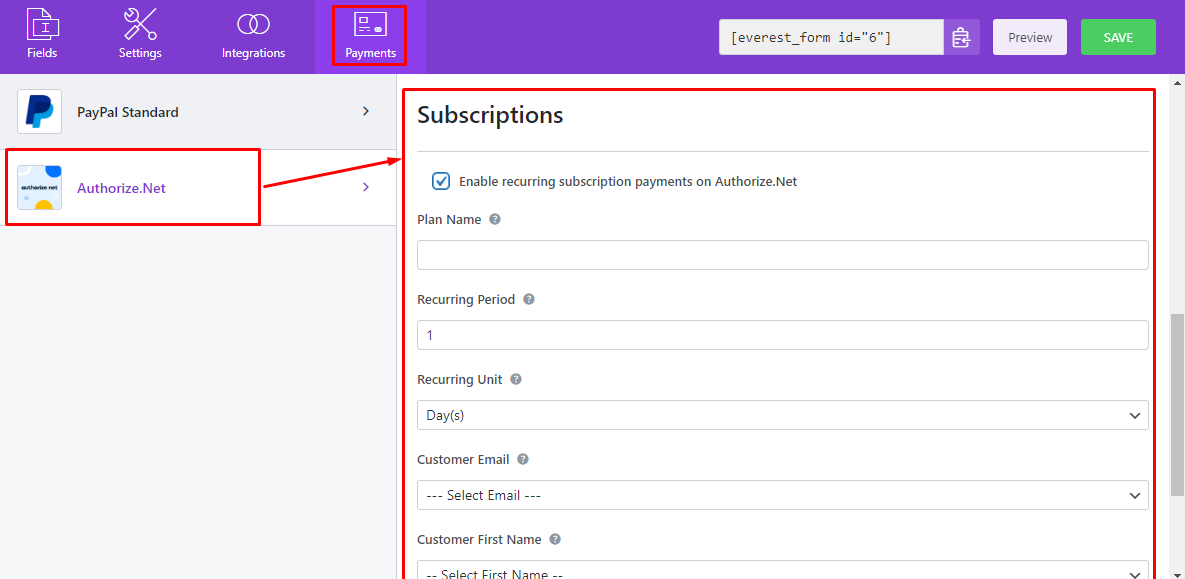
To enable a Subscription, click on Enable recurring subscription payments on Authorize.Net. Now, provide the plan name, recurring period, units, and other necessary details as per the options available.


