
Everest Forms now allows you to create users on your website. With the premium User Registration Add-on, you can add match the form fields with the user registration fields. And, create users for your site in a few clicks.
To integrate User Registration on your forms, follow the instructions below:
Installation #
- Firstly, you need to purchase the Everest Forms Pro plugin.
- After the successful purchase, you will get the plugin zip file under your WPEverest account page.
- Now, you can download the Everest Forms Pro plugin and User Registration addon from there.
- Through your WordPress Dashboard, visit Plugins -> Add New -> Upload and then choose the downloaded zip file and then install and activate it.
- Now you are ready to use this add-on for your site.
Setup and Configuration #
Once you have completed the above tasks of installing and activating the plugin, we can move on to set up this addon for your website.
Go to the Everest Forms -> Add New from your Dashboard. Here, you can either add an entirely new form or modify a current one.
Select the one that will be most suitable for your website. Then, you can start adding the fields required for User Registration.
After that, go to the Settings tab on the top and click on User Registration. Here you need to click on the toggle button to Turn on User Registration
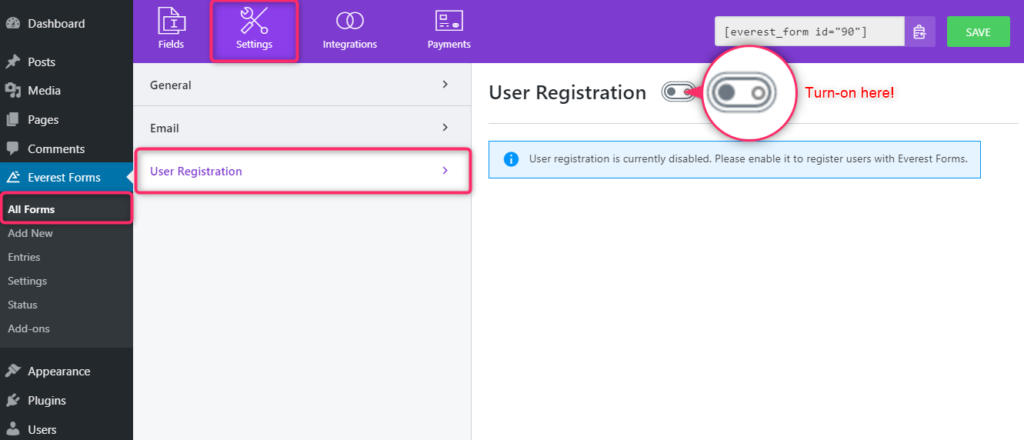
Integrate User Registration in Everest Forms #
After you enable the User Registration Add-on in the Settings by turning on the toggle button, you can see all the user registration fields.
Create User Registration Fields #
Now, you need to insert the user registration fields on your form. So, go to the Fields tab, and drag and drop to add the necessary user registration fields in the form.
You can even edit the label name, description, and more from the Field Options as you like.
Make sure you insert the Email Field to your form otherwise you won’t be able to integrate user registration.
Link with User Registration Fields #
After that, you need to connect these fields with User Registration
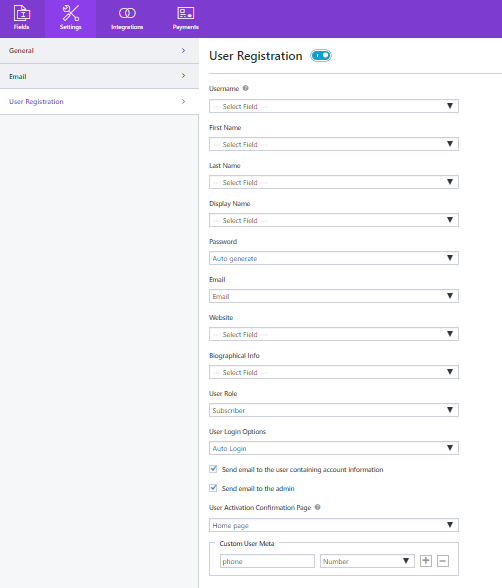
For this, go to the Settings tab again and select the respective form fields using the drop down option.
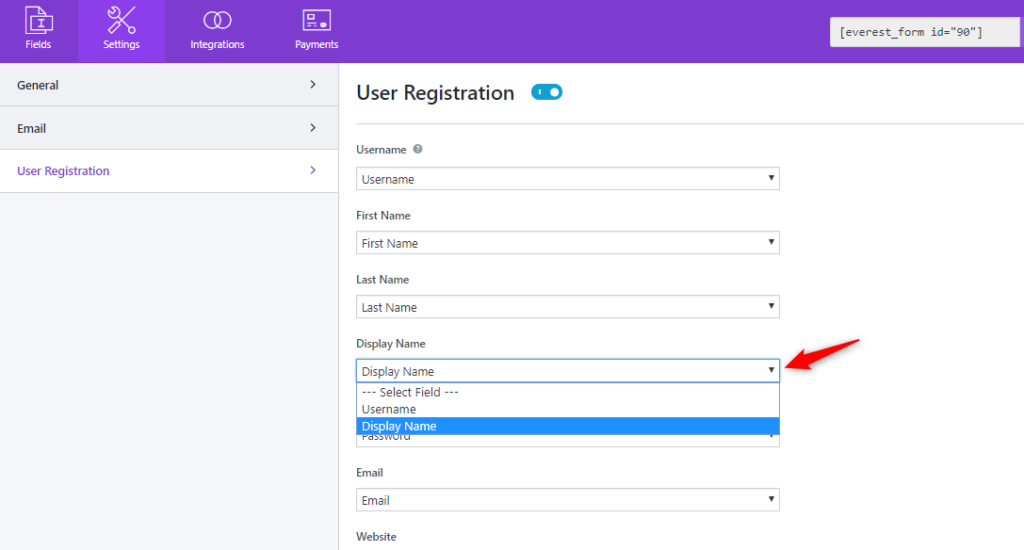
Like this, you can select the form fields of Username, First Name, Last Name, Email, Website, and others. The more important fields for User Registration are explained below:
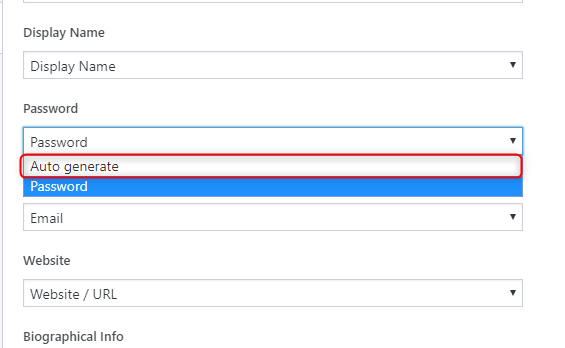
Password #
In the Password field, you have the option to choose.
You can allow users to type in a Password themselves, or Auto-generate a password for each user.
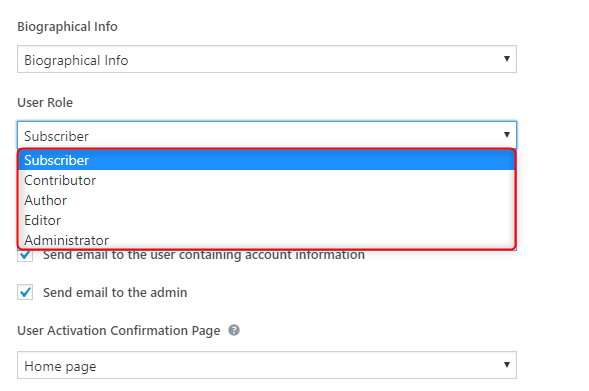
User Role #
In the User Role field, you have the option to assign the user role directly in your form. So, you don’t need to manually assign each user roles.
You can choose roles such as Subscriber, Contributor, Author, Editor, and Administrator.
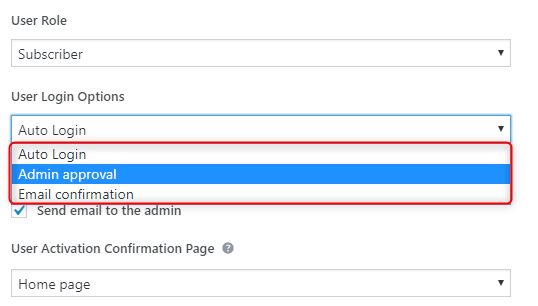
User Login Options #
In User Login Options, you can select the process for users to log in to your website. There are three options here: Auto Login, Admin approval, and Email confirmation.
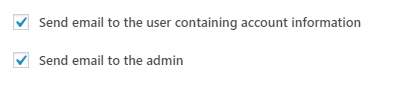
Email Options #
There are two email options for you here. The first option is to send an email to the user containing account information. And, the second one is to notify the admin via email.
User Activation Confirmation Page #
This option allows you to choose which page the user will be directed to when the user confirmation process is complete.
Custom User Meta #
Custom User Meta option allows you to receive and store any type of data that is not supported in the form already. There are limited user fields that are supported such as Username, Email, Password, etc. So, with this option, you can create any field to collect user information as you require.

Add a User Log-in Page #
Finally, you need to create a log-in page for your users to log in to your site. For this, Everest Forms has provided a Shortcode that you can add to any page in WordPress.
[everest_forms_user_login]
redirect_url allows you to add a page URL for redirection.
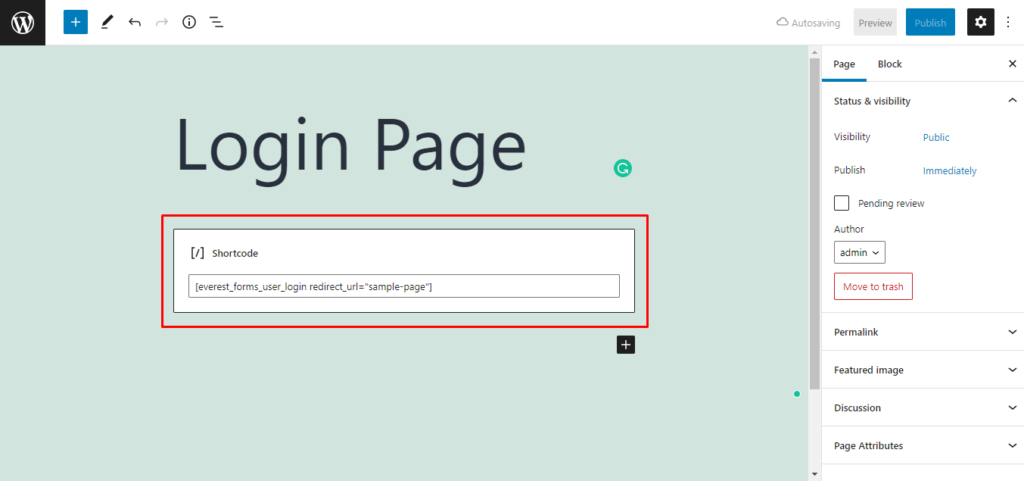
[everest_forms_user_login redirect_url=”sample-page”]
Then, you can create a new page for login and paste the shortcode there. You can also insert the page URL that you want the users to be directed to after login.
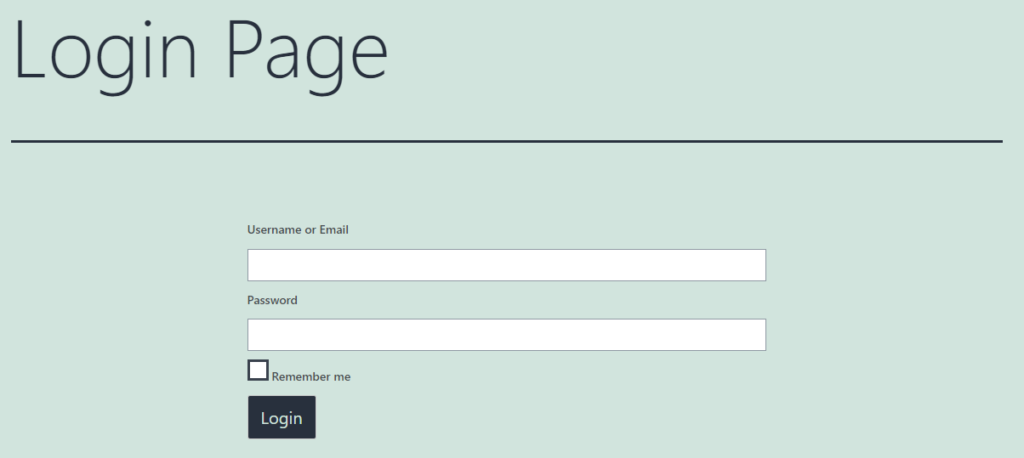
Your user login page will look like this in the frontend.
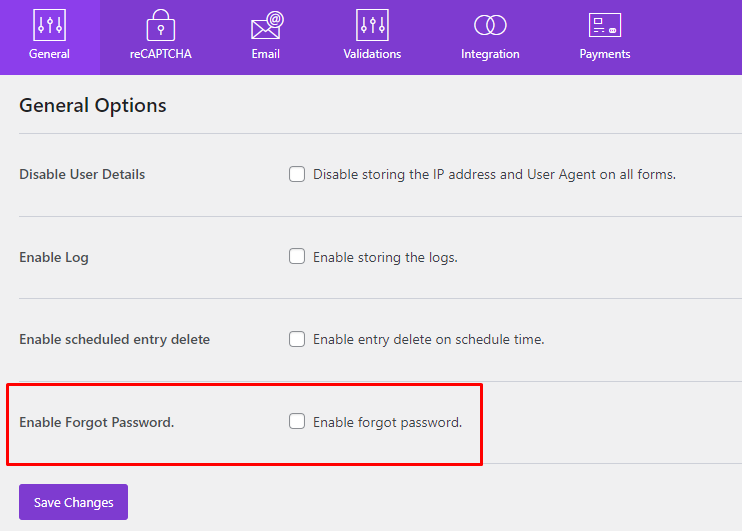
Forgot Password Feature: #
You can enable the lost/forgot password option for the login forms. For this, please go to Everest Forms > Settings > General. You can find the option to enable the forgot password.
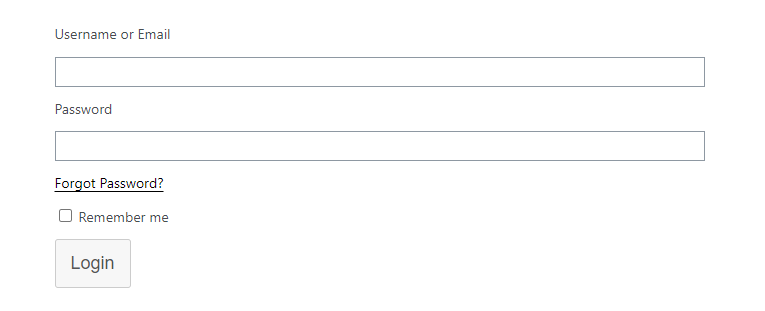
The result on the Login Form:
Add Captcha on the Login Form #
You can integrate Google reCaptcha and hCaptcha in the registration and login form as well. You will have to add the required keys in the Everest Forms > Settings > Captcha and can enable the Captcha support on the required forms.
You will need to integrate Captcha with the Everest Forms. Want to know How to integrate Captcha with the Everest Forms?
You need to add parameters to the login form’s shortcode for the Captcha. The Captcha allows you to prevent spamming on your login form.
[everest_forms_user_login redirect_url=”sample-page” recaptcha=”true”]
Learn How to add a Login Page for the Everest Forms?

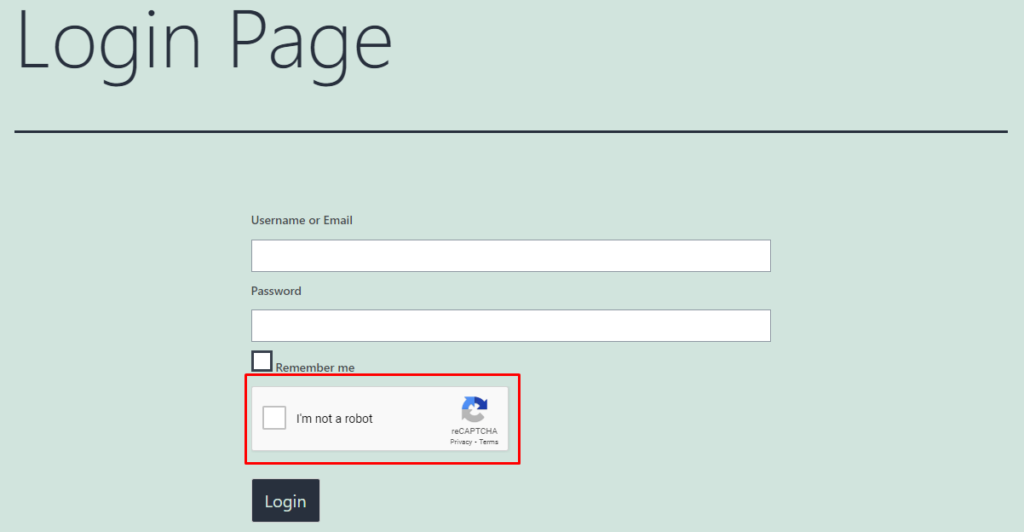
Note: The EVF Login Form supports reCaptcha v2(I'm not a robot and invisible type), v3 and hCaptcha.


