The users can be redirected to a certain page once they have submitted the form. For this, you will have to install and activate the Everest Forms Pro add-on. Once this add-on is installed, you can go to the individual form’s settings and under General, you will find the option Submission Redirection. In this option, you can click on Enable Conditional Logic to redirect users conditionally.
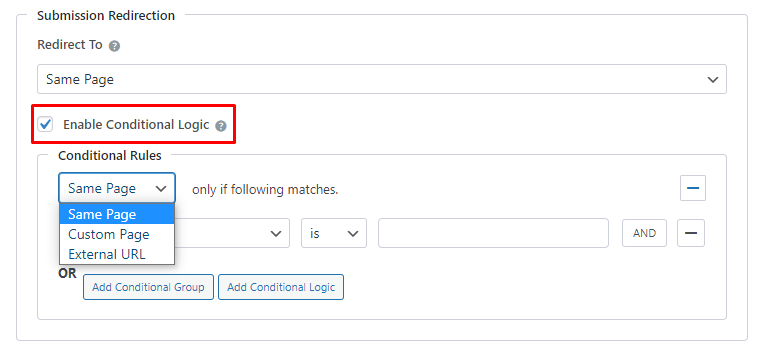
For every redirection type, you can add various conditions. There are basically three different options to redirect the users. They are:
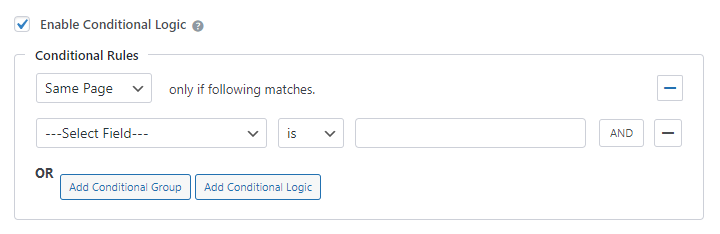
Same Page: If you select this option, users will be redirected to the same page once the condition is met.
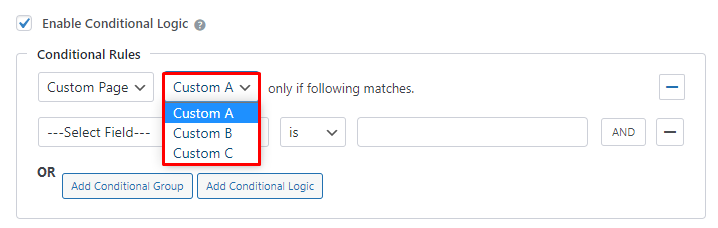
Custom Page: This option allows users to redirect to any page on the website after the form submission.
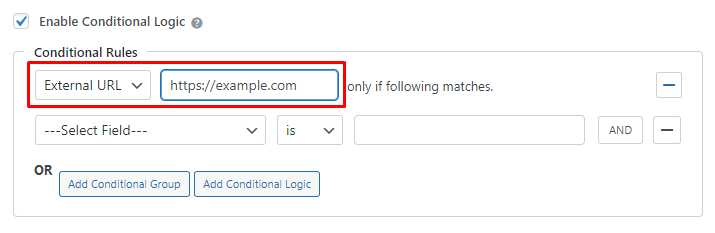
External URL: This options lets you to redirect users to any external URL after the form submission.