Want to allow your users to create a post on your WordPress site from the frontend? Well, now you can create post submission form with Everest Forms. Yes! The Post Submissions addon lets you integrate post and page submission from your users.
To start accepting post submissions on your forms, follow the instructions below:
Installation #
- Firstly, you need to purchase the Everest Forms Pro plugin.
- After the successful purchase, you will get the plugin zip file under your WPEverest account page.
- Now, you can download the Everest Forms Pro plugin and Post Submissions addon from there.
- Through your WordPress Dashboard, visit Plugins -> Add New -> Upload and then choose the downloaded zip file and then install and activate it.
- Now you are ready to use this add-on for your site.
Setup and Configuration #
Once you have completed the above tasks of installing and activating the plugin, we can move on to set up this add-on for your website.
Go to the Everest Forms -> Add New from your Dashboard. Here, you can either add an entirely new form or modify a current one.
Select the one that will be most suitable for your website. Then, you can start adding the fields required for Post Submission.
After that, go to the Settings tab on the top and click on Post Submissions. Here you need to click on the toggle button to Turn on Post Submission.
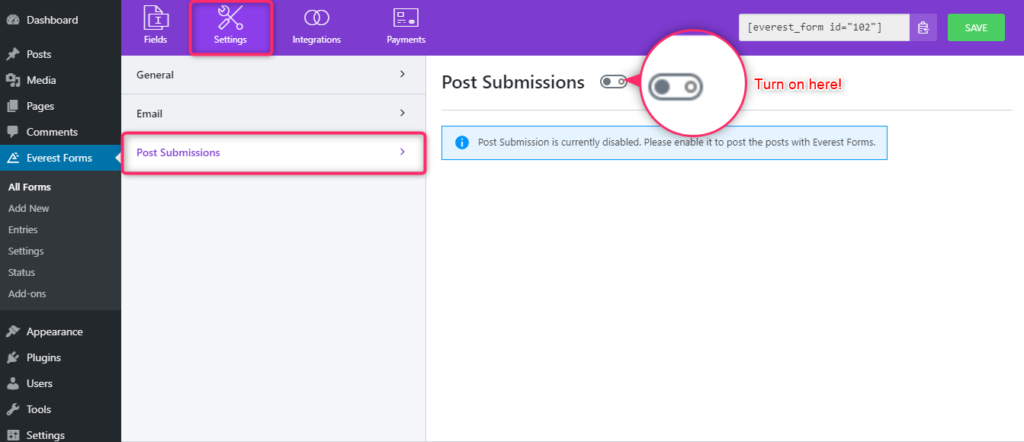
After you enable the Post Submission Add-on in the Settings by turning on the toggle button, you can see all the post submissions fields.
Create a Post Submission Form #
Then, you need to create a form that includes all the post submission fields.
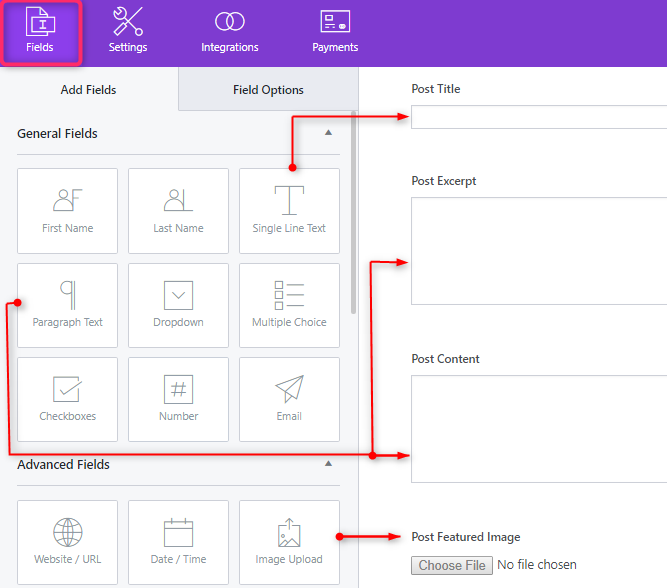
For this, go to the Fields tab in the form builder and you can see the available form fields at the left-hand side. Here, you need to create Post Submission fields for:
- Post Title
- Post Content
- Post Excerpt
- Post Featured Image
You can drag and drop the fields from the form builder and even edit the label name, Descriptions and others as per your requirement
Connect Form Fields with Post Submission #
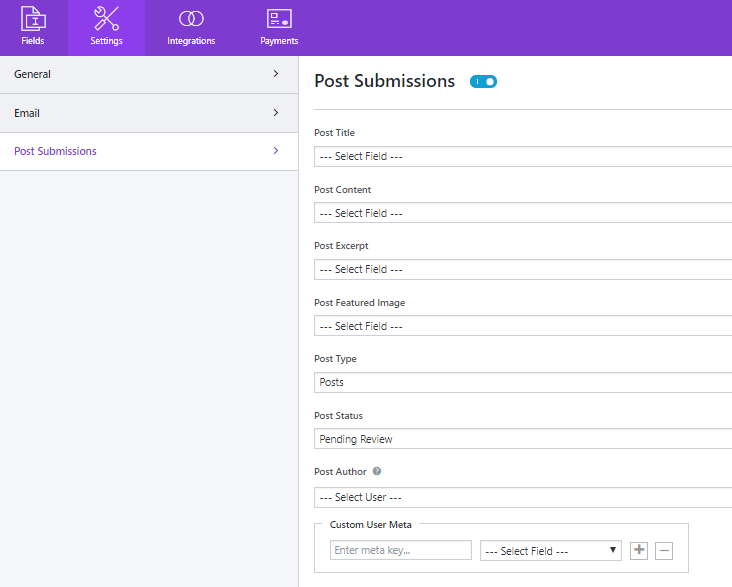
Now, head over to the Settings tab and go to Post Submissions. Now, you will be able to select the fields for each option using the dropdown menu.
So, click on the dropdown option and select the form field that you created.
Like Post Title, you can select the form field for Post Content, Post Excerpt and Post Featured Image.

After that, there are four more Post Submissions fields that are explained below for your convenience.
Post Type #
In the Post Type option, you can choose whether the post submission is for WordPress Post or Page. The submitted content will either create a new post or a new page depending on which you select.

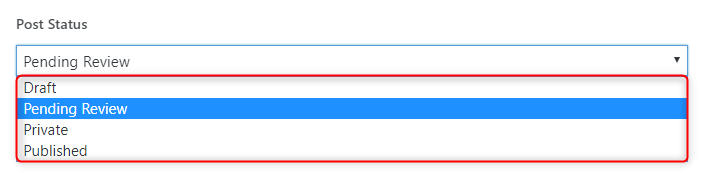
Post Status #
In the Post Status option, there are four options: Draft, Pending Review, Private and Published. So, you can choose the Post Status according to your need.
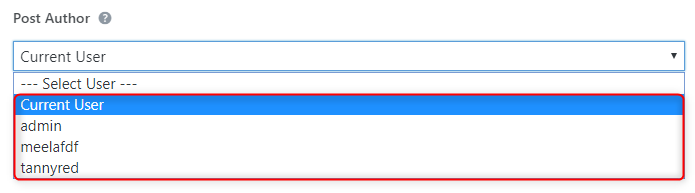
Post Author #
In the Post Author option, you can choose a specific user OR you can select the Current user. If the user filling the post submission form is already registered to your site, they will be assigned as the Post Author.
Taxonomies #
Taxonomies are the way of grouping the posts in WordPress. The related and similar WordPress posts can be grouped by the Taxonomies. There are two taxonomies in WordPress: Categories and Tags.
This option allows you to assign the category and tag for the post submission form.

Category #
The Category option allows you to assign an existing category or allows the users to choose a category for the post submissions. Here, you have two choices. You can either assign the category for all the post submissions yourself, or you can add an option for the users to select a Category.
For this, you can click on the drop-down option and you can see the two options: Field value and Assign Category.
When you select the Field Value option, you need to choose the form field that determines the post category from the user inputs. The multiple fields, checkbox, and drop-down fields can be used to present the categories to the form-filler.
This allows users to choose a category for their post submissions according to their requirements.
When you select Assign Category, you need to select a category that is predetermined on your site. The categories that you have already created will appear in the drop-down list.
Tags #
The Tags option allows you to assign existing tags or allows the users to choose tags for the post submissions. Same as the Categories option, you have two choices. You can either assign tags for all the post submissions yourself, or you can add an option for the users to select tags.
When you select the Field Value option, you need to choose the form field that determines the tags from the user inputs. The checkbox field can be used to present the tags to the form-filler.
This allows users to choose tags for their post submissions according to their requirements.
When you select Assign tags, you need to select tags that is predetermined on your site. The tags that you have already created will appear in the drop-down list.
Custom Post Meta #
Custom Post Meta option allows you to receive and store any type of post data that is not supported in the form already. There are limited user fields that are supported by the form such as Username, Email, Password, etc. So, with this option, you can create any field to collect user information as you require.

Using Custom Post Meta with ACF #
Install ACF and add a custom field #
- Install and activate the Advanced Custom Fields plugin from Plugins > Add New.
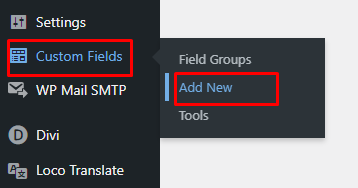
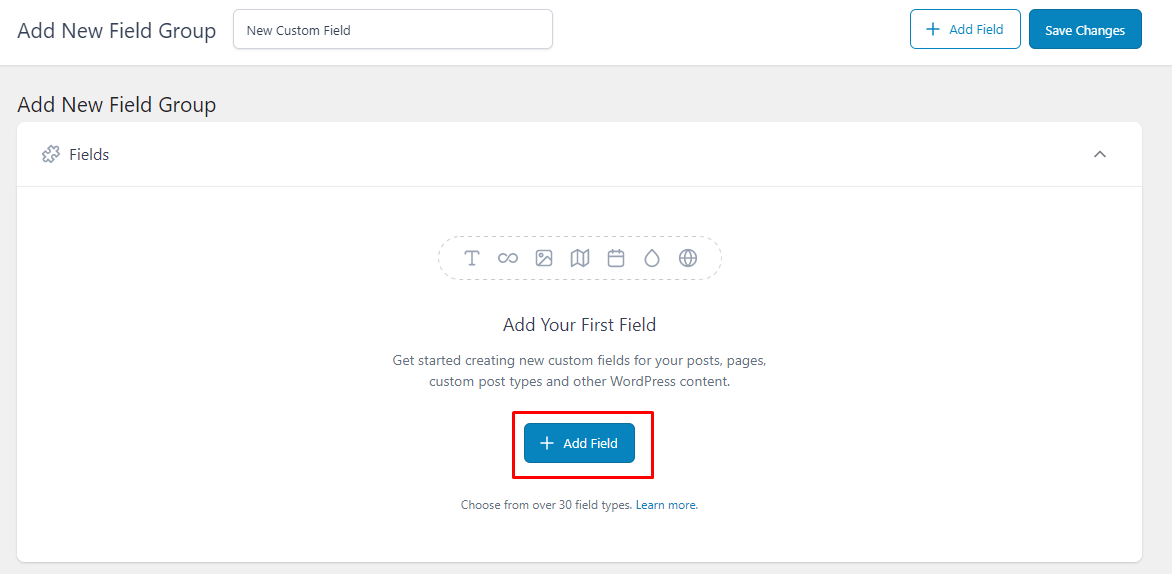
- After the installation is completed, go to Custom Fields > Add New.
- At the top, add the group name as per your desire and click on Add Field.
You will now see a dropdown menu to fill up the necessary field details. The following two details are necessary.
- Field Label – Give your new field a name.
- Field Type – We’re going to use a simple text field, so we left this set to Text.
The Field Name will automatically be assigned to the field.
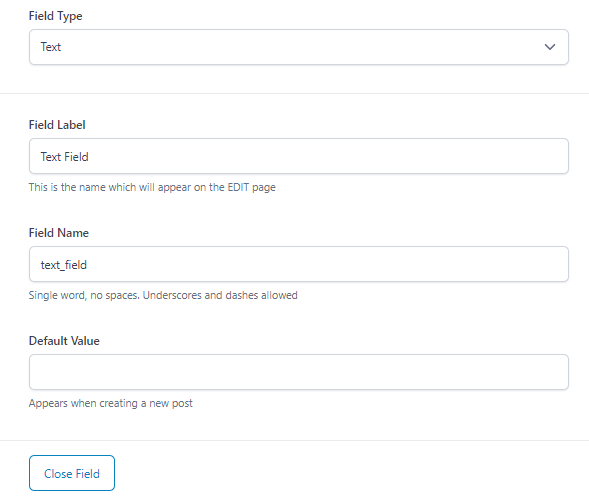
- Click on ‘Save Changes‘.
Create a Post Submission Form and add the custom field #
Create a form on Everest Forms plugin and enable Post Submission from the Form Settings > Post Submission.
On the Custom Post Meta option, add the field name from the first step and assign a field for that.
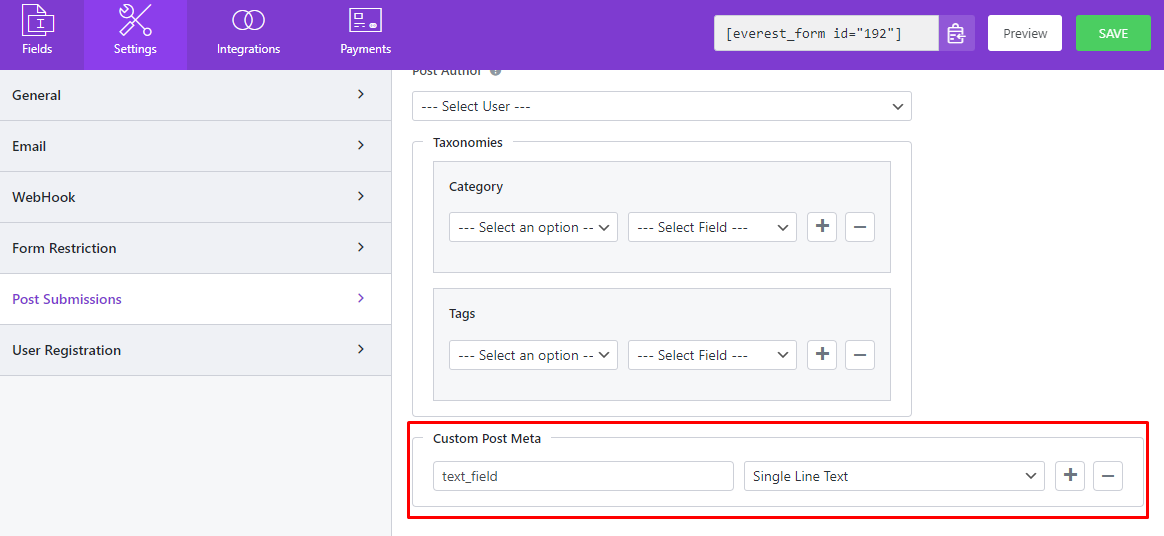
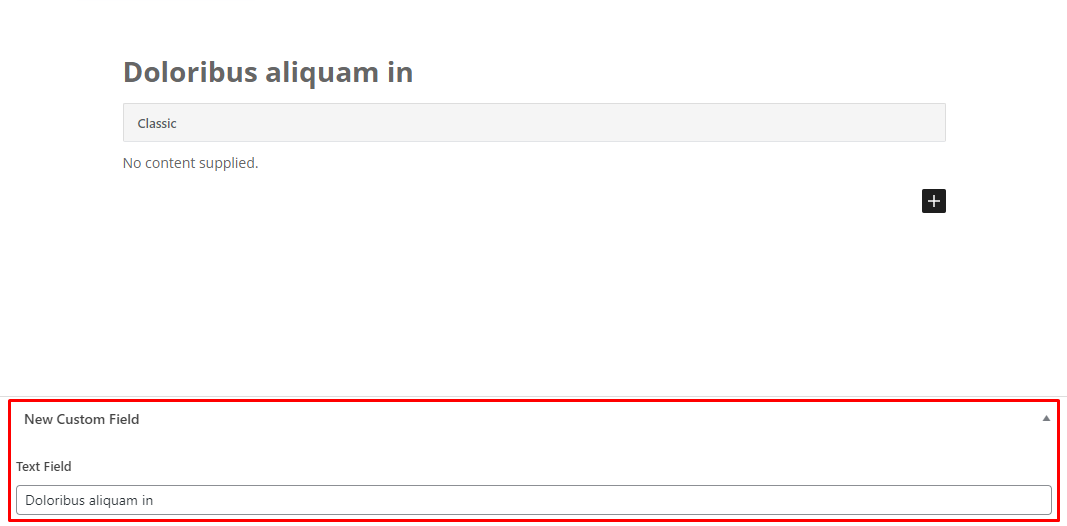
Now, anything typed into the Single Line Text field will be saved in the custom field. That’s it! Click Save to save your form.
Now, submit the form and the custom field will be saved on the post.