Preface #
Follow the instructions on this documentation to track your form submissions using Google Analytics 4.
Word from Google: Google Analytics 4 is our next-generation measurement solution, and it's replacing Universal Analytics. On July 1, 2023, standard Universal Analytics properties will stop processing new hits. If you still rely on Universal Analytics, we recommend that you prepare to use Google Analytics 4 going forward.
Setting up Google Analytics 4 #
- Create an account from here.
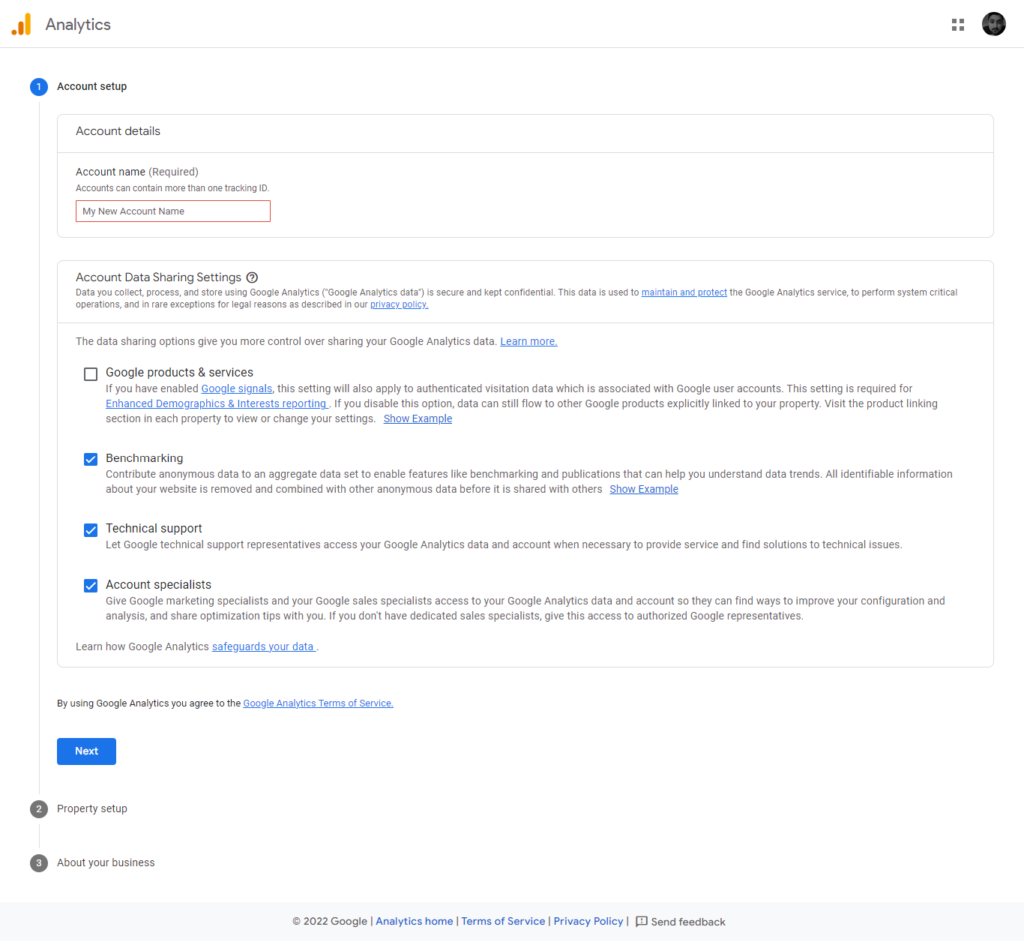
- Add the account name and click on Next.
- In the Property Setup section, give the property name, location, and currency.
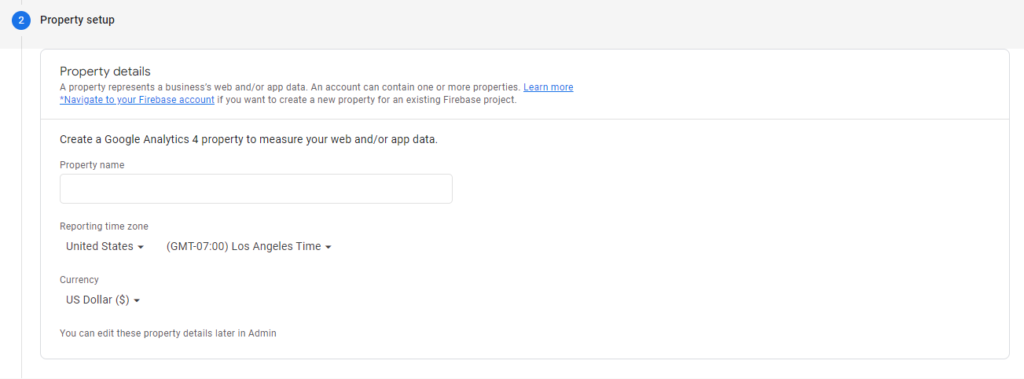
- You can skip the Business part.
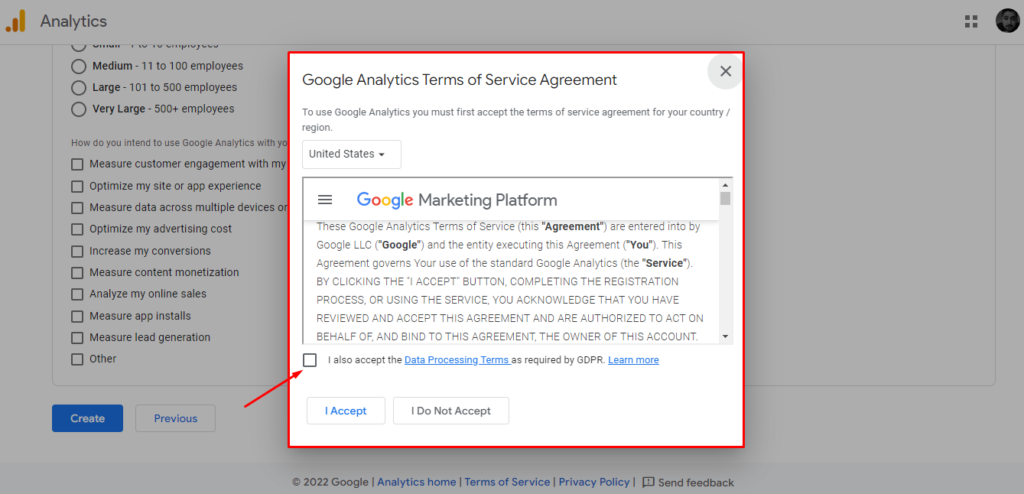
- Click on Create. Accept the terms and conditions and click on I Accept.
Your Google Analytics 4 account is now created under the chosen name. After this, you will be redirected to the Data Streams dashboard.
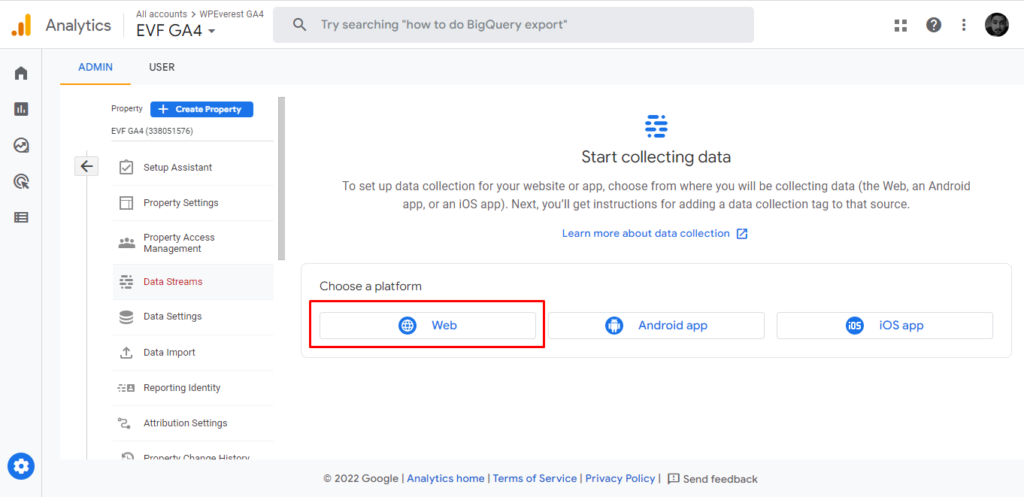
- Choose/Click on Web.
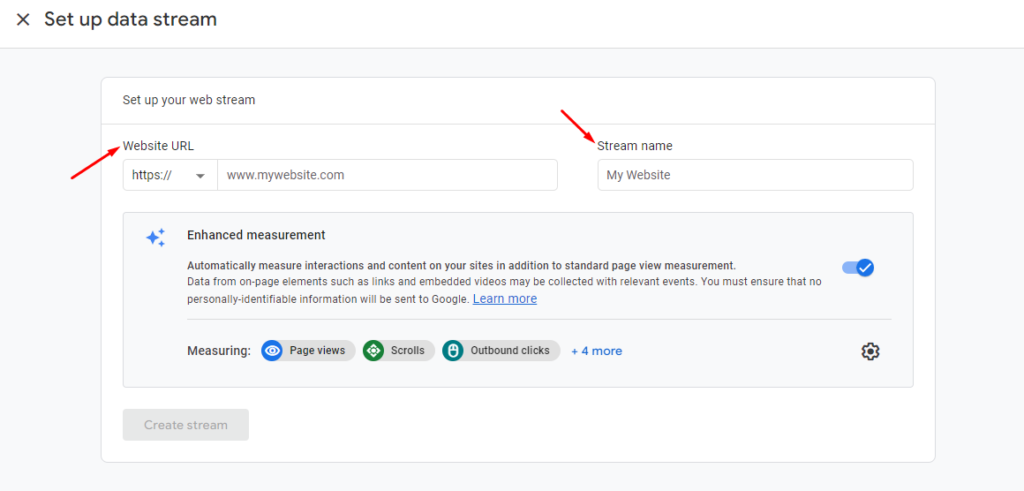
- On the next window, add your site’s URL and a stream name of your choice.
- Click on Create Stream.
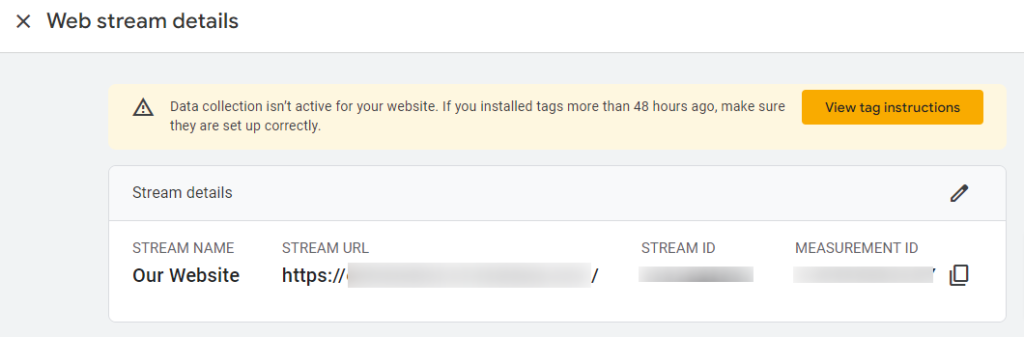
- After the stream is created, copy the Measurement ID into a clipboard.
Google Tag Manager Configuration #
Now, we will need a trigger, and tracking event and then connect these through Google Tag Manager to Google Analytics 4. From the following steps, the trigger and the tracking events can be created.
Installing Google Tag Manager #
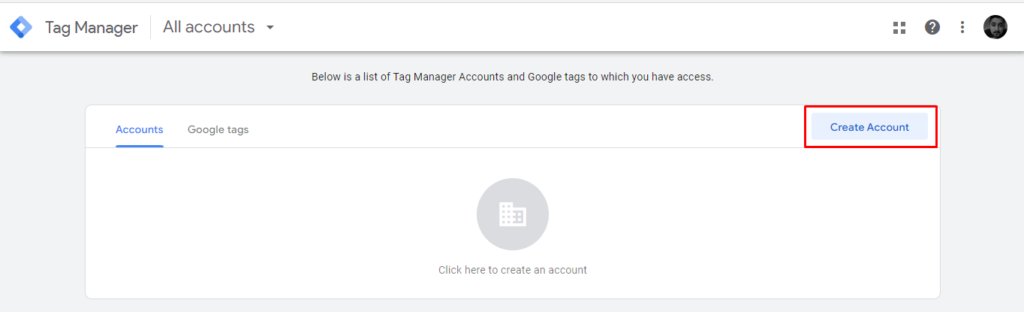
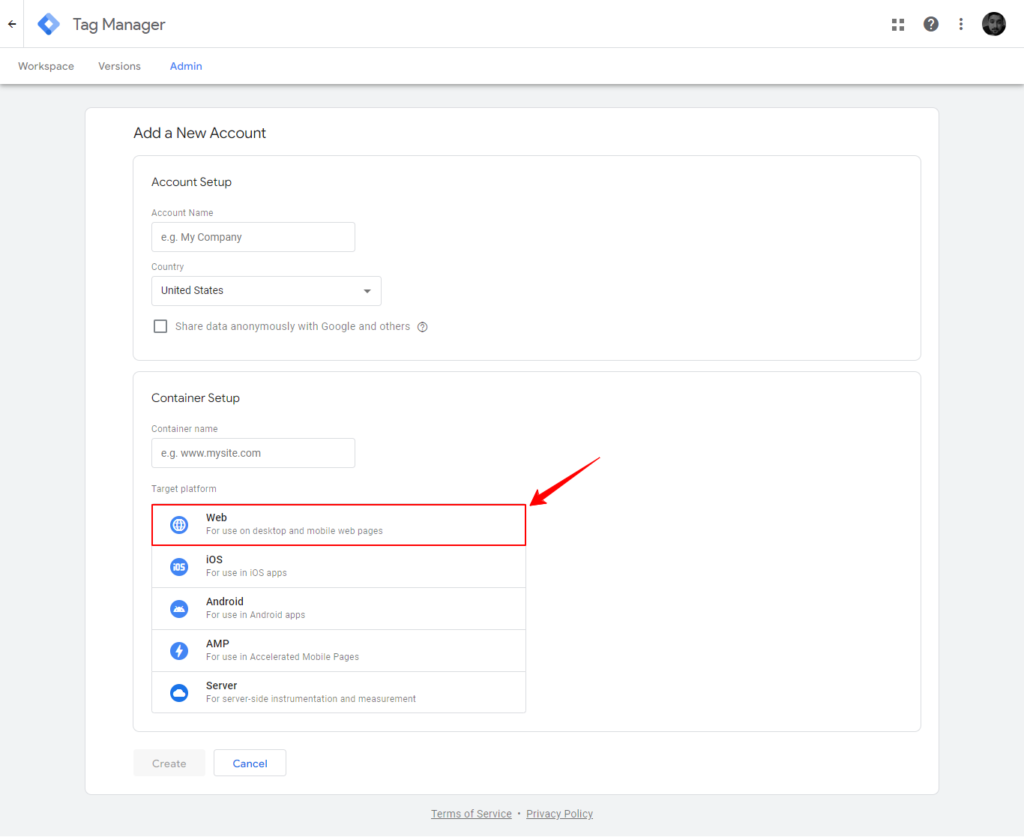
- Go to the Google Tag Manager site.
- Create a new Account.
- Fill in the required details. Choose ‘Web’ for the Target Platform.
- Accept the Terms and Conditions.
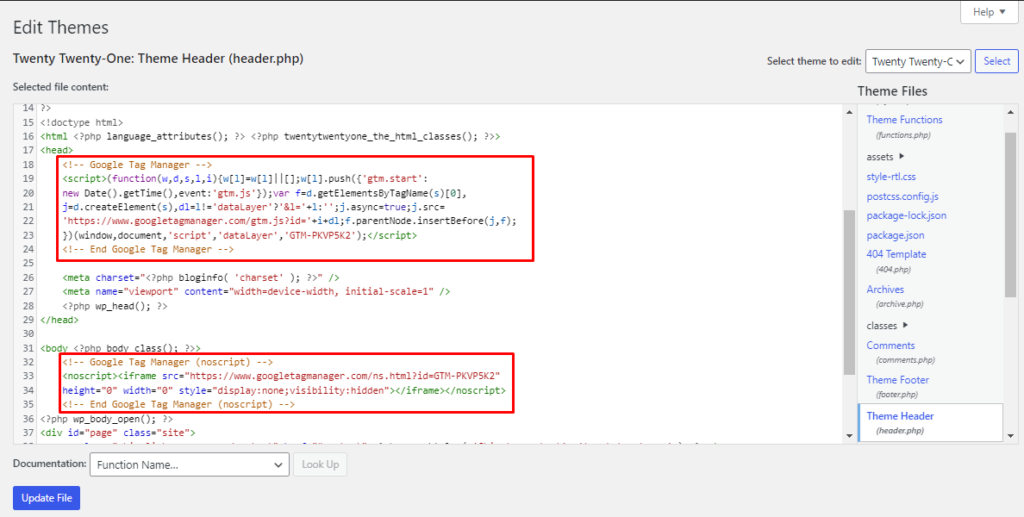
After the account is created, you will see the scripts you need to add and where they needed to be added to, in the Install Google Tag Manager window.

Add these scripts to their respective locations in the theme’s file. You can create a child theme and not lose these scripts in the next theme update. After this, the Google Tag Manager is installed on your site.
Steps for Mapping #
Based on the Submission Type #
Create a Custom HTML Tag [Ajax Submission] #
If you have enable the Ajax Submission on your form from Form Settings > General, please follow the steps below for the first step.
- Click Tags > New.
- Give a name and click on Tag Configuration
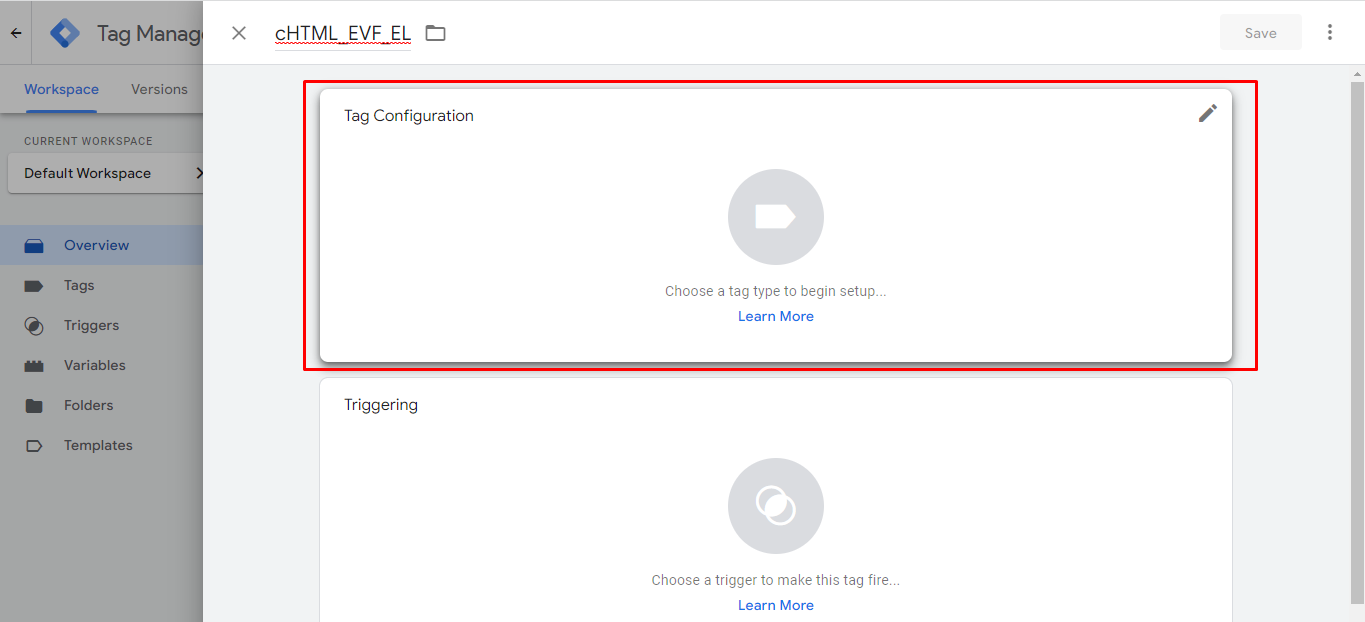
- Search for Custom HTML and click on it
- Add the following HTML code to the HTML section
<script>
document.addEventListener('everest_forms_ajax_submission_success',    function(event) {
      window.dataLayer.push({
        event: 'everest_forms_submission_success',
        eventCategory: 'EverestFormsAjaxSubmission',
        eventAction: 'EverestFormsEntrySubmit',
        formId: event.detail.formId,
      });
    }, false);
</script>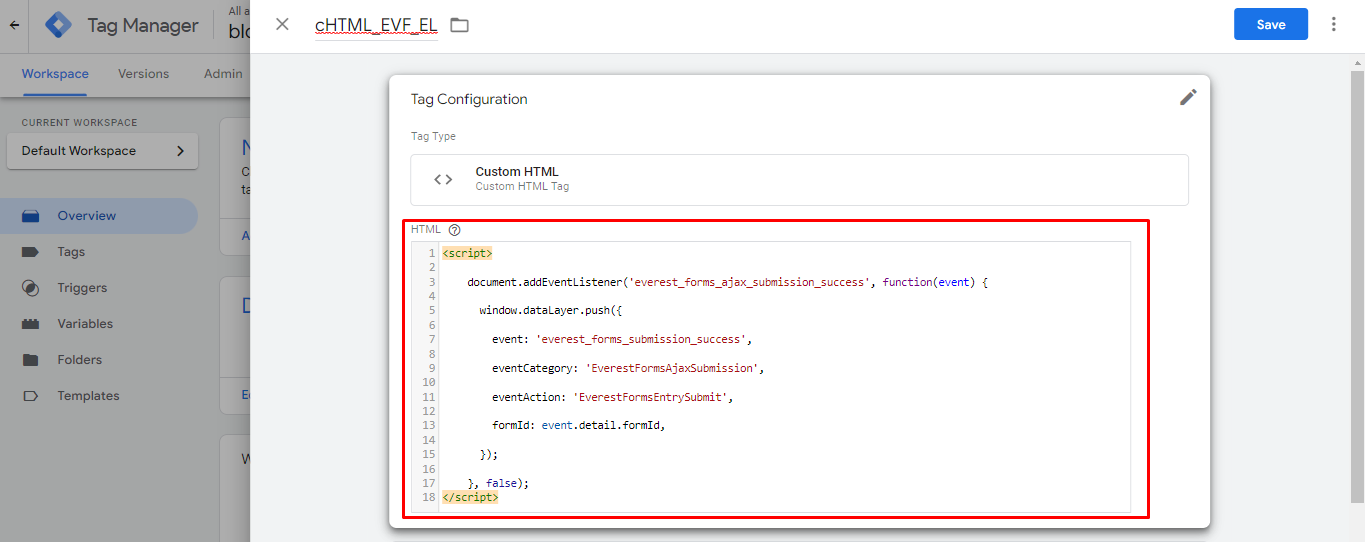
- Click on the Trigger section below this and choose All Pages
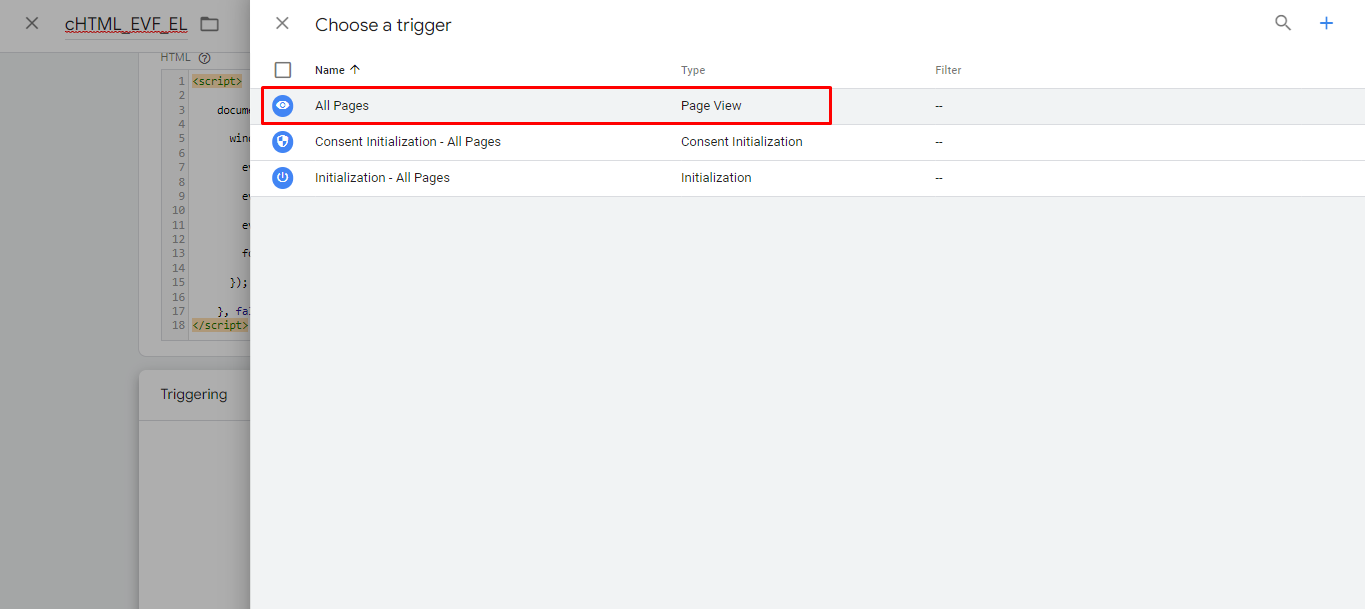
- Click on Save
Add Custom Code Snippet [POST Submission] #
For the forms that have the Ajax submission disabled from the Form Settings, please add the following codes to the functions.php file of the theme or use a Custom Code Snippet plugin.
function track_form_submission($form_data, $entry) {
    ?>
    <script>
        var formId = "<?php echo 'evf-form-'.$form_data['id']; ?>";
        window.dataLayer = window.dataLayer || [];
        window.dataLayer.push({
            event: "everest_forms_submission_success",
            eventCategory: "EverestFormsPostSubmission",
            eventAction: "EverestFormsEntrySubmit",
            formId: formId
        });
    </script>
    <?php
}
add_action( 'everest_forms_after_success_message', 'track_form_submission', 10, 2 );
Create a Trigger #
- Click Triggers >New.
- Click Trigger Configuration.
- Search for the trigger type ‘Custom Event’
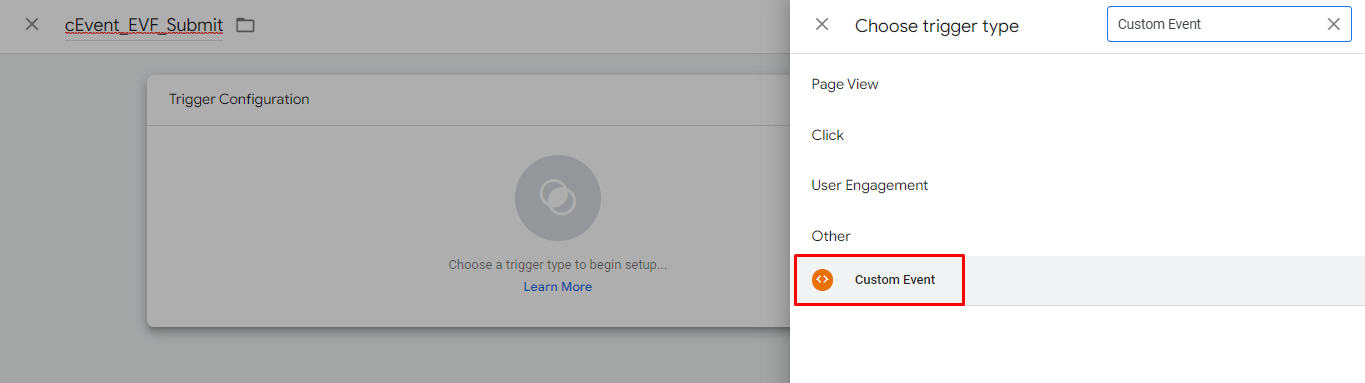
- In the name option, write everest_forms_submission_success
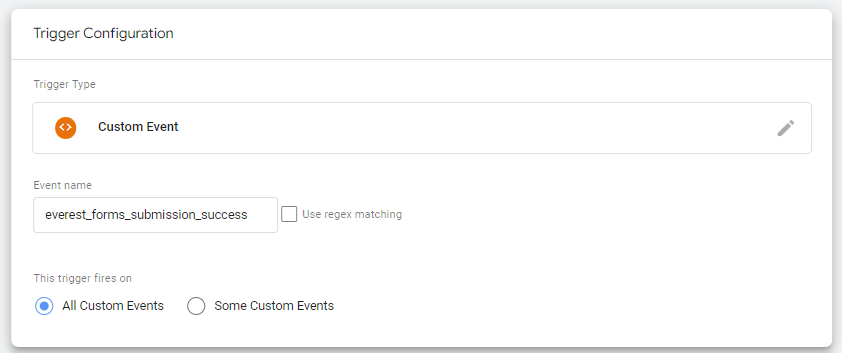
- Click on Save
User-Defined Variables #
If you want to send some variable when a tag is fired, you can add it by following the steps below.
- On the Tag Manager, go to Variables
- Click on New
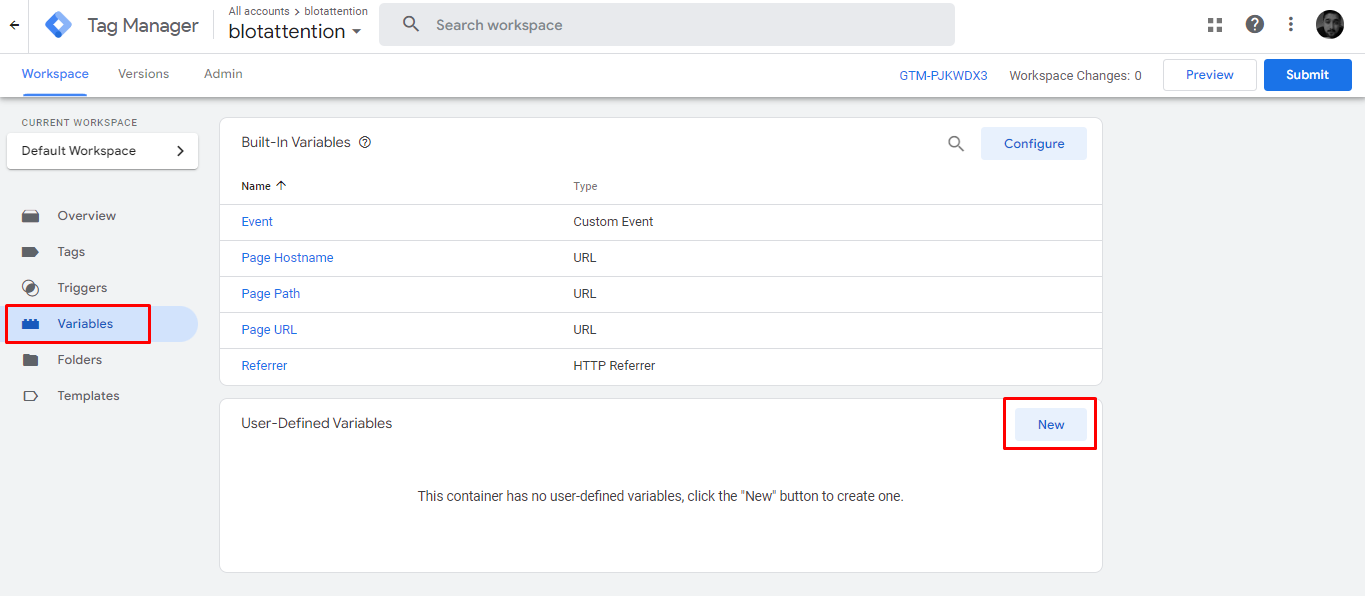
- Provide a variable name and choose Data Layer Variable as the variable type.
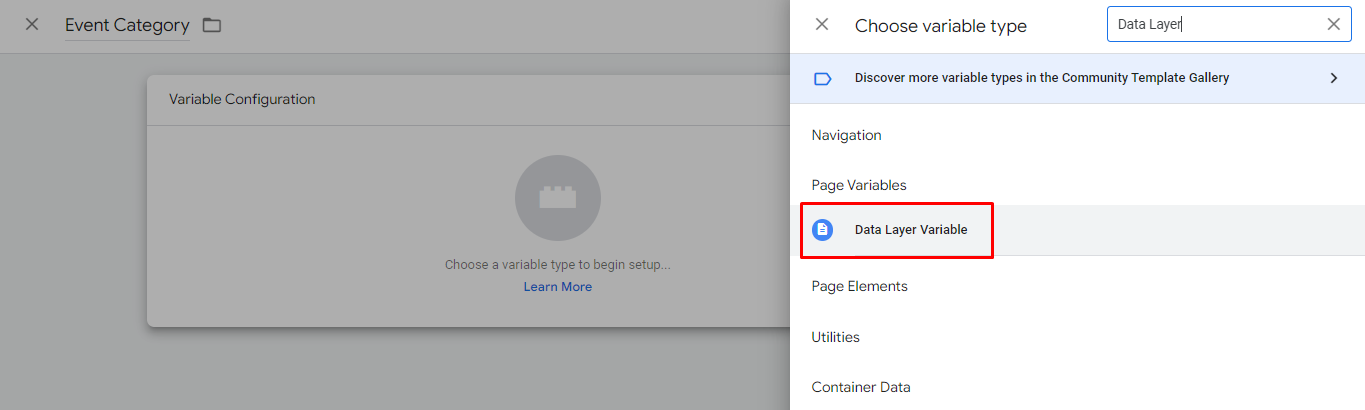
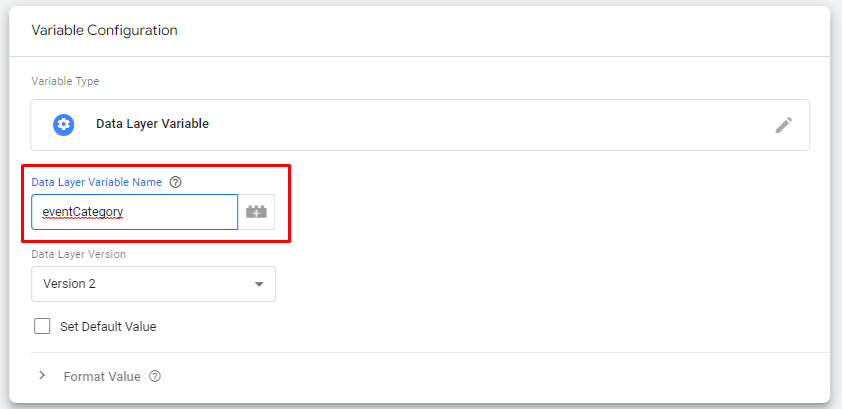
- In the Data Layer Variable name, write the name of the variable. For example, eventCategory, eventAction, formID, etc
- Click on Save
Create a GA4 Event Tag #
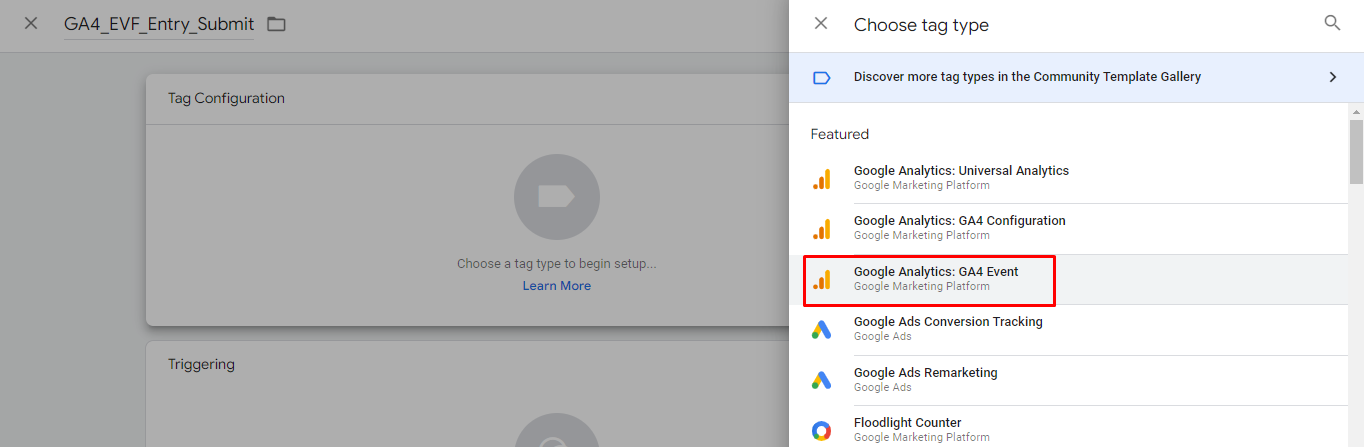
- Go to Tags > New
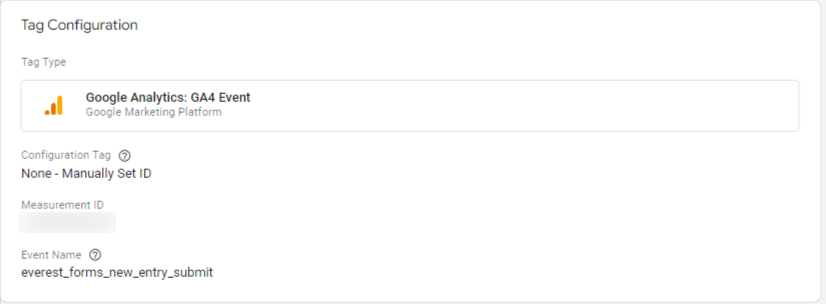
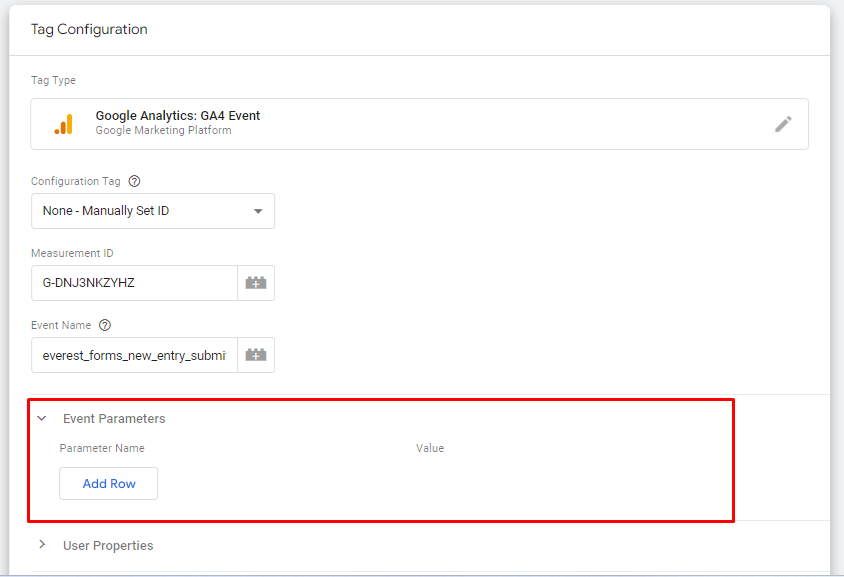
- Give a proper name to your tag and choose Google Analytics: GA4 Events as the tag type
- Add the previously generated Measurement ID
- Give the Event Name. The event name has a standard of having small letters and underscores instead of spaces. For example, everest_forms_new_entry_submit
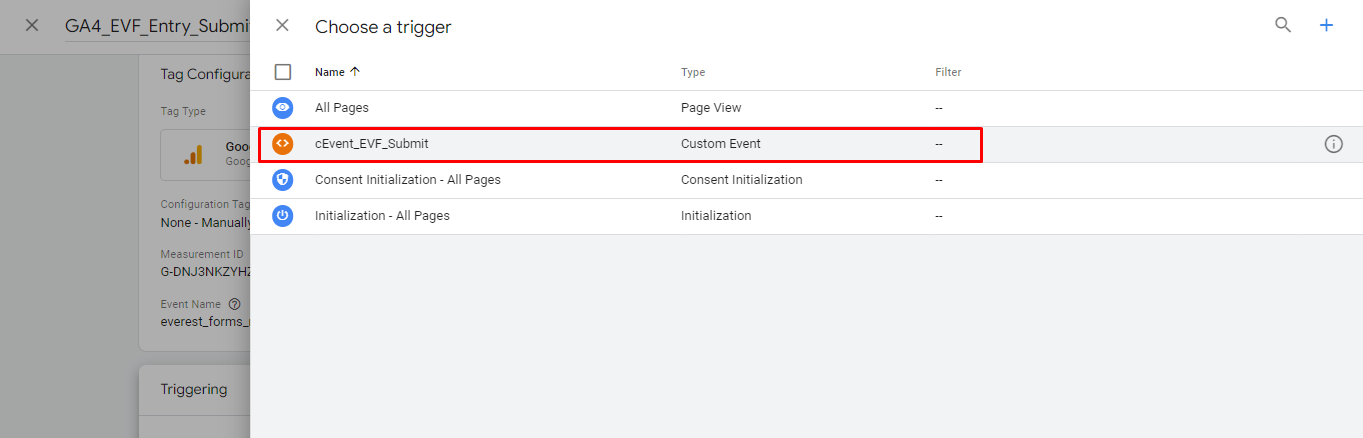
- Choose the Custom Event you have created above as the trigger for this tag
Adding Event Parameters #
- Click on Event Parameters
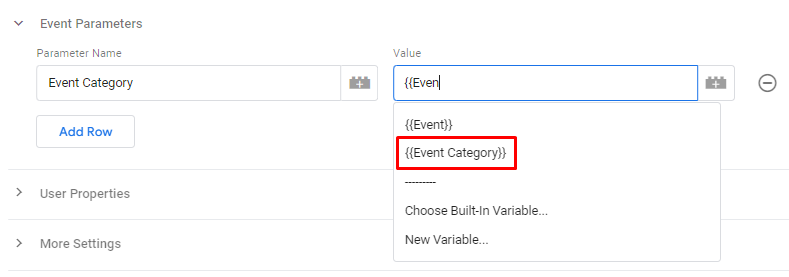
- Click on Add Row
- Give a parameter name and choose the value from the list. The variable we added above will be listed here.
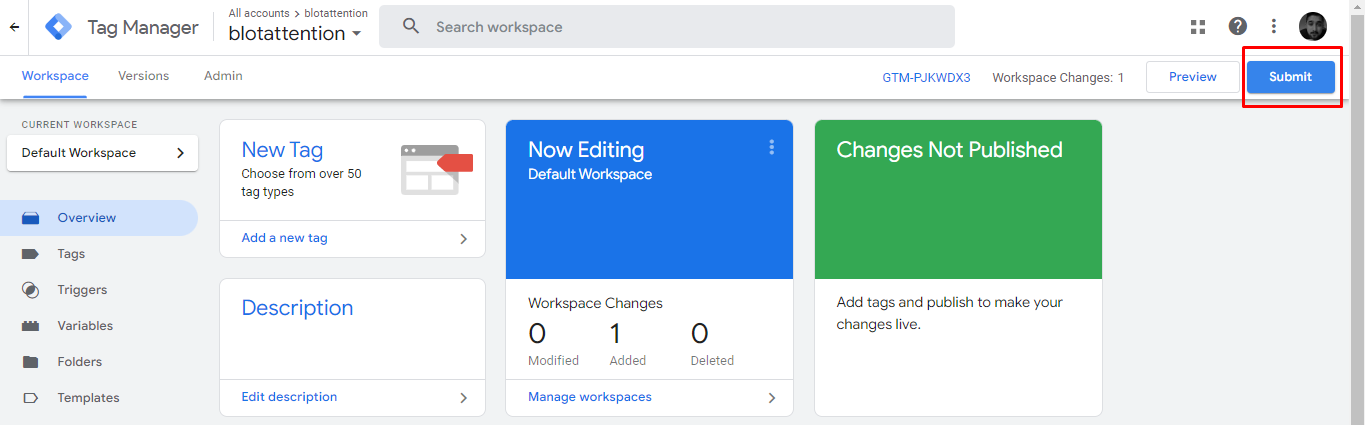
Save the changes. Now, Submit and Publish the tag by providing a relative name and description.
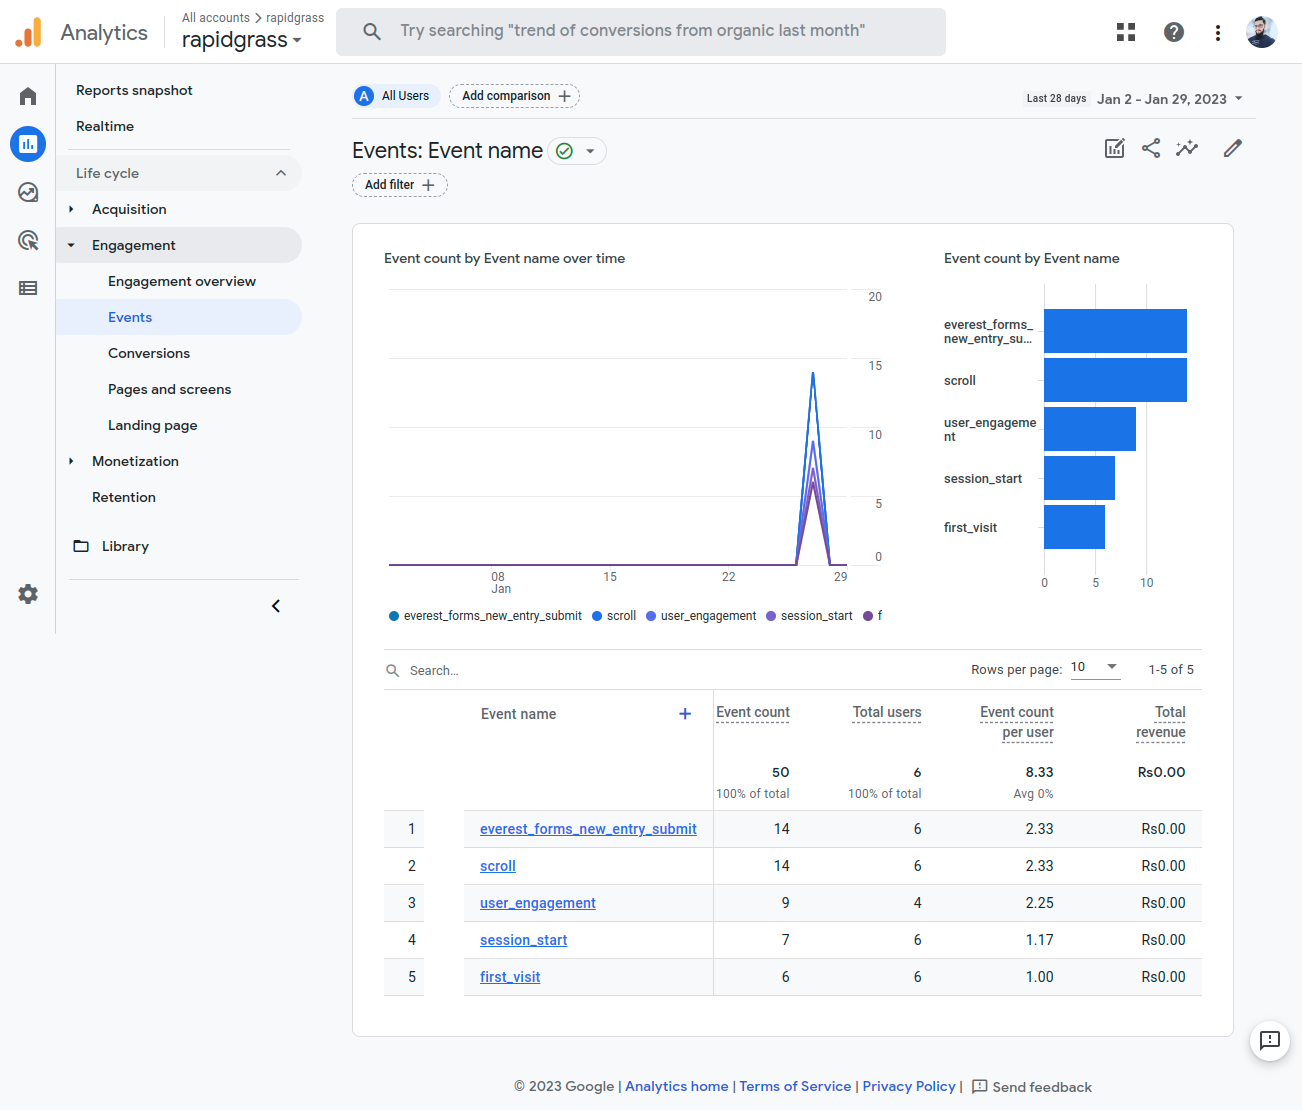
Check your Events #
Once all the setups have been completed, your Events reporting will start capturing all form submissions. You can see these from Google Analytics Dashboard > Engagement > Events.