Tired of old-school all questions-at-a-time forms? We present you with a new, quick, and modern way of presenting the forms. With one question at a time approach, feel more human while filling out the forms with the help of the Everest Forms – Conversation Forms add-on. Create your own disturbance-free whole-page conversational form layout with a minimum of time and effort input.
Installation #
- Firstly, you need to purchase the Everest Forms Pro plugin.
- After the successful purchase, you will get the plugin zip file under your WPEverest account page.
- Now, you can download the Everest forms pro plugin and Conversational Forms add-on from there.
- Through your WordPress Dashboard, visit Plugins -> Add New -> Upload and then choose the downloaded zip file and then install and activate it.
- Now you are ready to use this add-on for your site.
Alternative Method:
- Once you have entered the Everest Forms Pro license on your site, go to Everest Forms > Add-ons.
- Search for the ‘Conversational Forms‘ add-on.
- Click on ‘Install‘.
- Once the installation is finished, click on ‘Activate‘. The add-on will be activated.
Setup and Configuration #
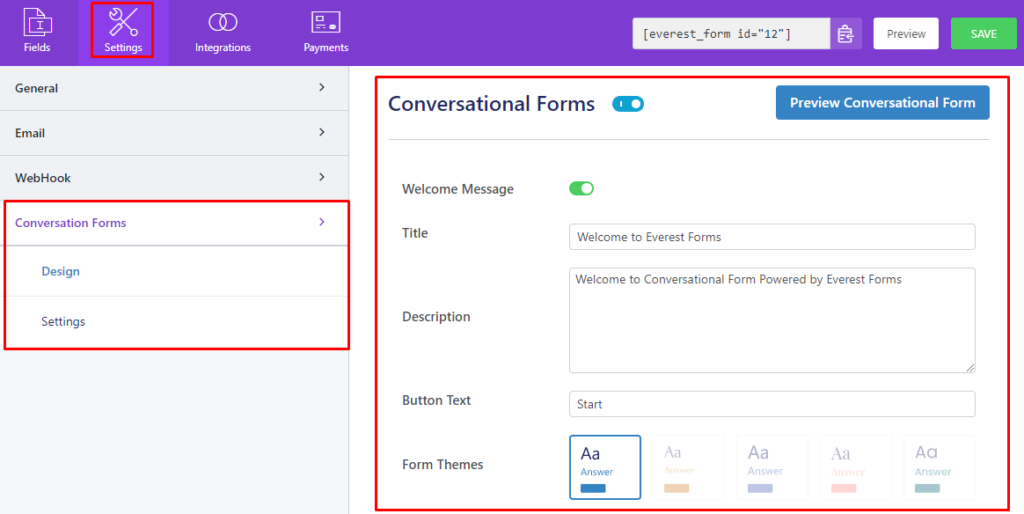
Once you have finished installing the add-on, you can create a new form or edit the existing one to make it a conversational form. For this, go to the form editor and add the required form fields. Then, go to Settings > Conversation Forms.
Sections #
There are two sections on Settings > Conversation Forms. They are:
- Design
- Preview Conversational Form
- Settings
Design #
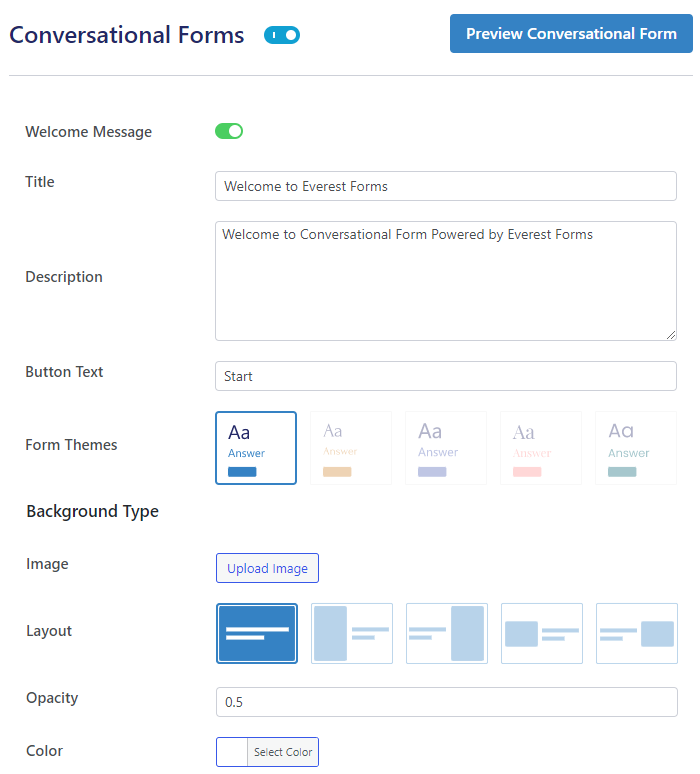
In this section, you will design the layout of the conversational form. This has:
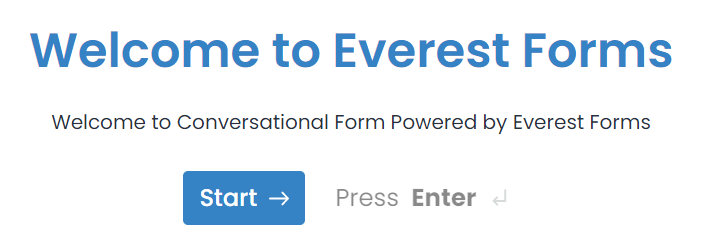
- Welcome Message: Enable this and write the desired welcome message on the title box. You can also write a description message. It will appear at the beginning of the form.

- Button Text: Write the desired text to appear on the Start button.
- Form Themes: Choose any one of the five available themes for the form’s layout. These themes basically change the color of the form as per the indication.
Background Type
- Image: Upload or choose any image to appear on the background of the form.
- Layout: This decides how you want the chosen image to appear on the form.
- Opacity: As the name suggests, choose the opacity of the background image from here.
- Color: You can choose a color background instead of the image from this option. If you choose an image, this color will be overridden by that image.
Preview Conversational Form #
On the top right of the Design configuration section, you will find a button called Preview Conversational Form. After the design is set, you can click this button to view the progress of your conversational form.
Settings #
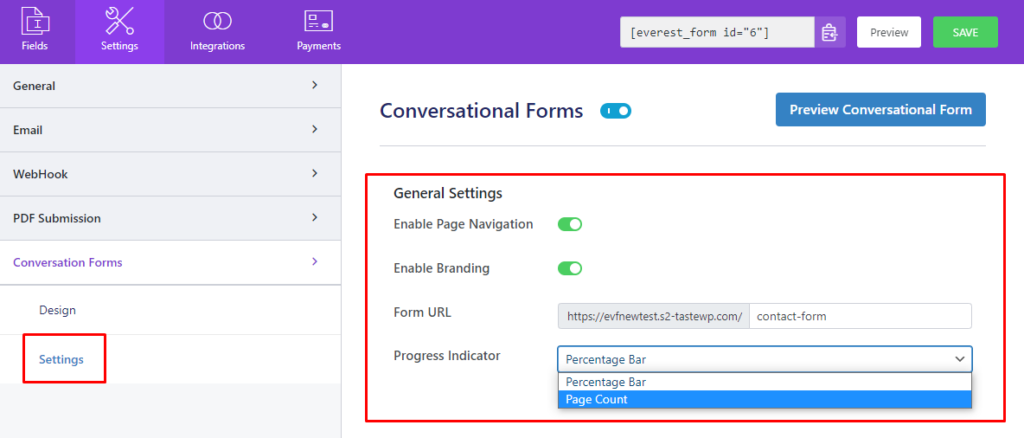
- Enable Page Navigation: Enable this option to show the progress indicator at the bottom of the conversational form. The option Progress Indicator lets you choose the layout of the page navigation.
- Percentage Bar
- Page Count

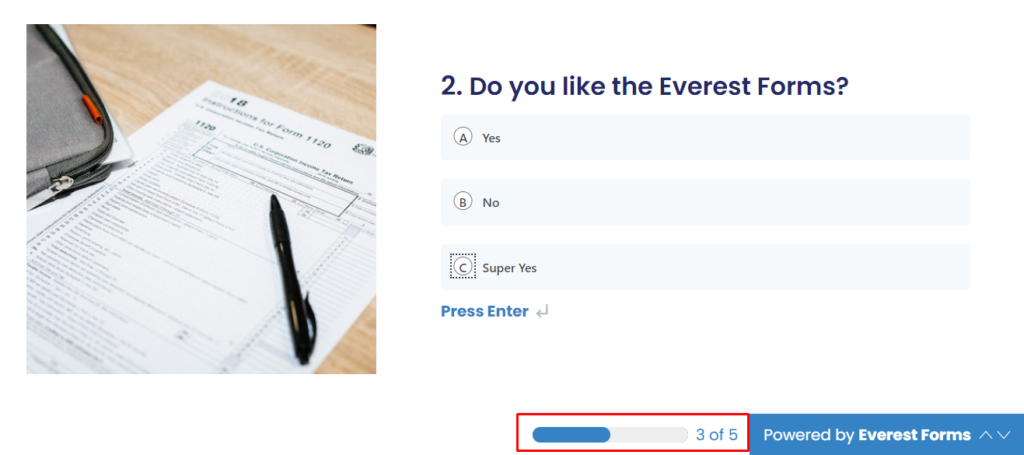
- Enable Branding: Enable this option to show the ‘Powered by Everest Forms‘ message at the bottom of the form.
- Form URL: This is the URL of the page where the conversational form is to be shown. You can edit the endpoint as per your requirements.
Copy the URL and use it as per your requirements on your website.