The Everest Forms Form Restriction Add-on allows you to easily control and restrict the form submissions on your WordPress site. There are various features offered by the add-on such as limiting form entries, scheduling form submission dates, password protecting forms, restricting forms for users who are not logged in, and more.
Installation #
- Firstly, you need to purchase the Everest Forms Pro plugin.
- After the successful purchase, you will get the plugin zip file under your WPEverest account page.
- Now, you can download the Everest Forms Pro plugin and Form Restriction addon from there.
- Through your WordPress Dashboard, visit Plugins -> Add New -> Upload and then choose the downloaded zip file and then install and activate it.
- Now you are ready to use this add-on for your site.
Setup and Configuration #
Once you have completed the above tasks of installing and activating the plugin, we can move on to set up this add-on for your website.
Go to the Everest Forms -> Add New from your Dashboard. Here, you can either add an entirely new form or modify a current one.
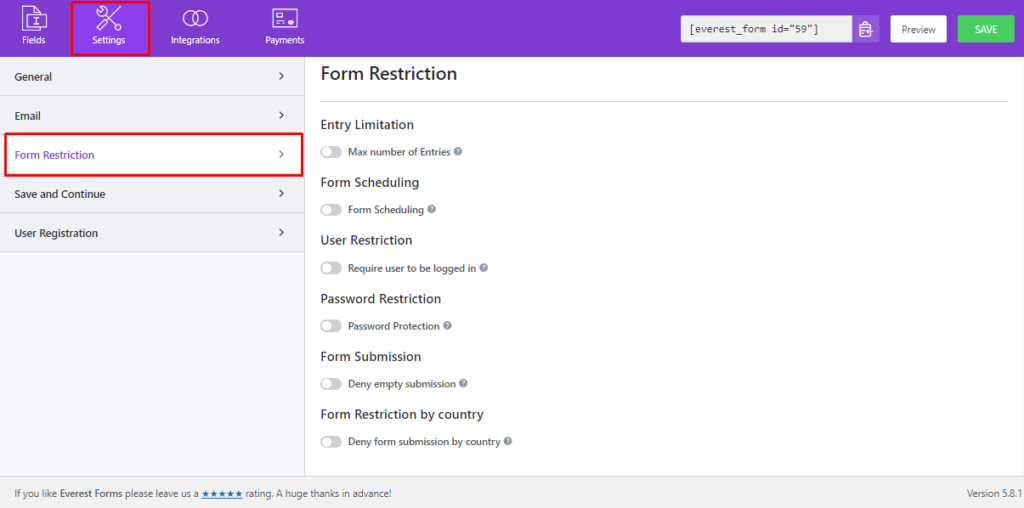
On the Form Builder, go to the Settings tab and you can see the Form Restriction. Here, you can see there are Five settings for form restriction. Each of them is explained below:
Entry Limitation #
The first setting is the Entry Limitation option. This option allows you to choose how many entries you want to receive daily, weekly, monthly, yearly or in total. To edit these settings, you need to Enable the Max number of Entries option.
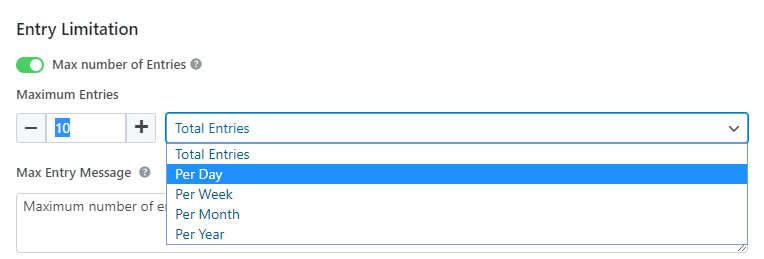
- Maximum Entries: There are two options available for the maximum entries. First, you need to set the number of entries you want to limit. Then, you can select the required Time Period of the entries. There are five options to choose from: Total Entries, Per Day, Per Week, Per Month and Per Year.
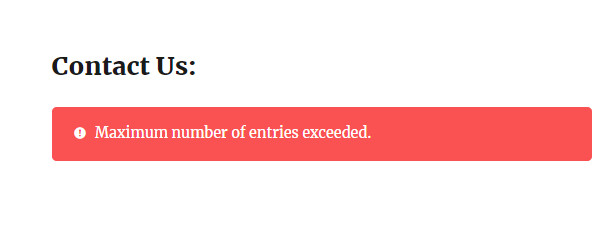
- Max Entry Message: This option allows you to enter the text to be displayed when the number of entries is exceeded. Here, you can edit and enter your desired text message.
Form Scheduling #
Form Scheduling option allows you to select a date range in which the form submissions will be allowed on your site. Here, you can choose a date when you want to start the form submissions.
Also, you can select a form closing date so that the users can no longer submit forms after that. The add-on provides an easy calendar option to select the dates easily. After you enable the Form Scheduling option, you can see the settings.
- Submission Starts: This option allows you to select a date for the starting of form submissions. Just click on the empty field and choose the date you want to start the submissions from the calendar.
- Submission Ends: This option allows you to select a date for the closing of the form submissions. Click on the empty field to choose the date you want to close the form submissions from the calendar.
- Form Waiting Message: This option allows you to edit the message that will be displayed before the form submission starts. This lets the users know that the form submissions have not started yet. And, you can edit to display the date when it will start.
- Form Expired Message: This option allows you to edit the message that will be displayed after the form submission ends. This lets the users know that the form submissions have already closed. You can change the default text as you like.
User Restriction #
The User Restriction option allows you to restrict the form submission from the users who are not logged in. All you need to do is enable the Require user to be logged in option and you’re done.
- Require Login Message: This option allows you to edit the text which is displayed if the users are not logged in already. This message alerts the users to log in first.

Password Restriction #
The Password Restriction option allows you to restrict the form submissions with a Password. So, only the users with the Password will be able to submit the form. First, you need to enable the Password Protection option.
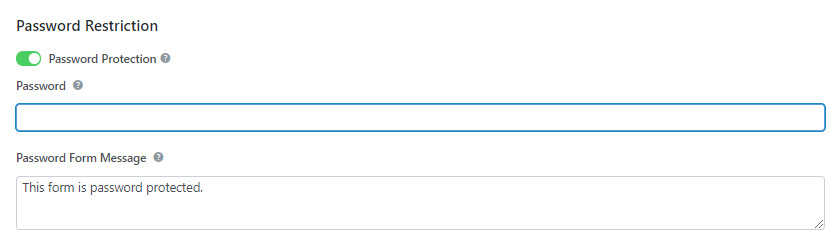
- Password: This option allows you to enter any type of text as a form of password. It will restrict anyone who enters the wrong password. So, your form is password protected.
- Password Form Message: This option allows you to edit the text which is displayed to show that the form is password protected.
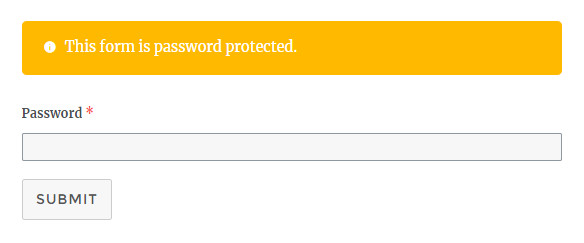
In the frontend, the Password Form Message is displayed first. Then, there is the password field. The users need to enter the correct password and only then will they be able to view the form itself.
Form Submission #
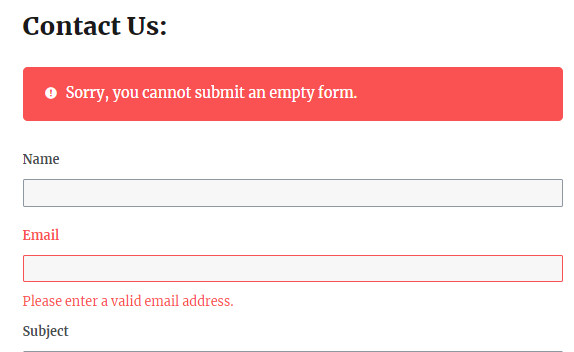
The Form Submission option allows you to restrict the submission of the forms that are left empty by the users. After you enable the Deny empty submission option, your visitors won’t be able to submit an empty form on your website.
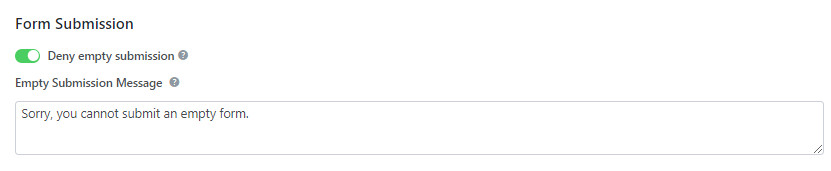
- Empty Submission Message: This option allows you to edit the text which is displayed on top of the form after the user submits an empty form.
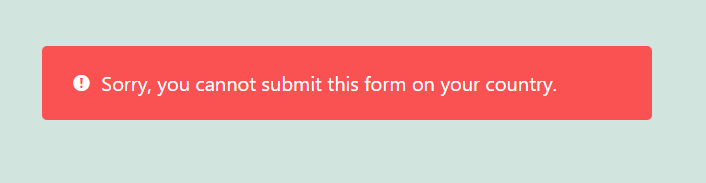
Form Restriction by Country #
This option allows you to restrict the form’s submitted by the user of selected country. You can choose the country to be restricted from the Form Settings > Form Restriction for the required form.
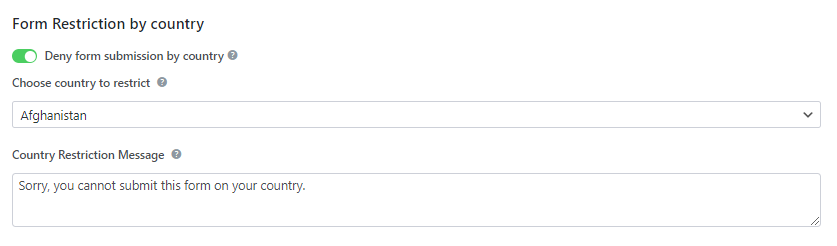
Error Message: