
Table of Contents
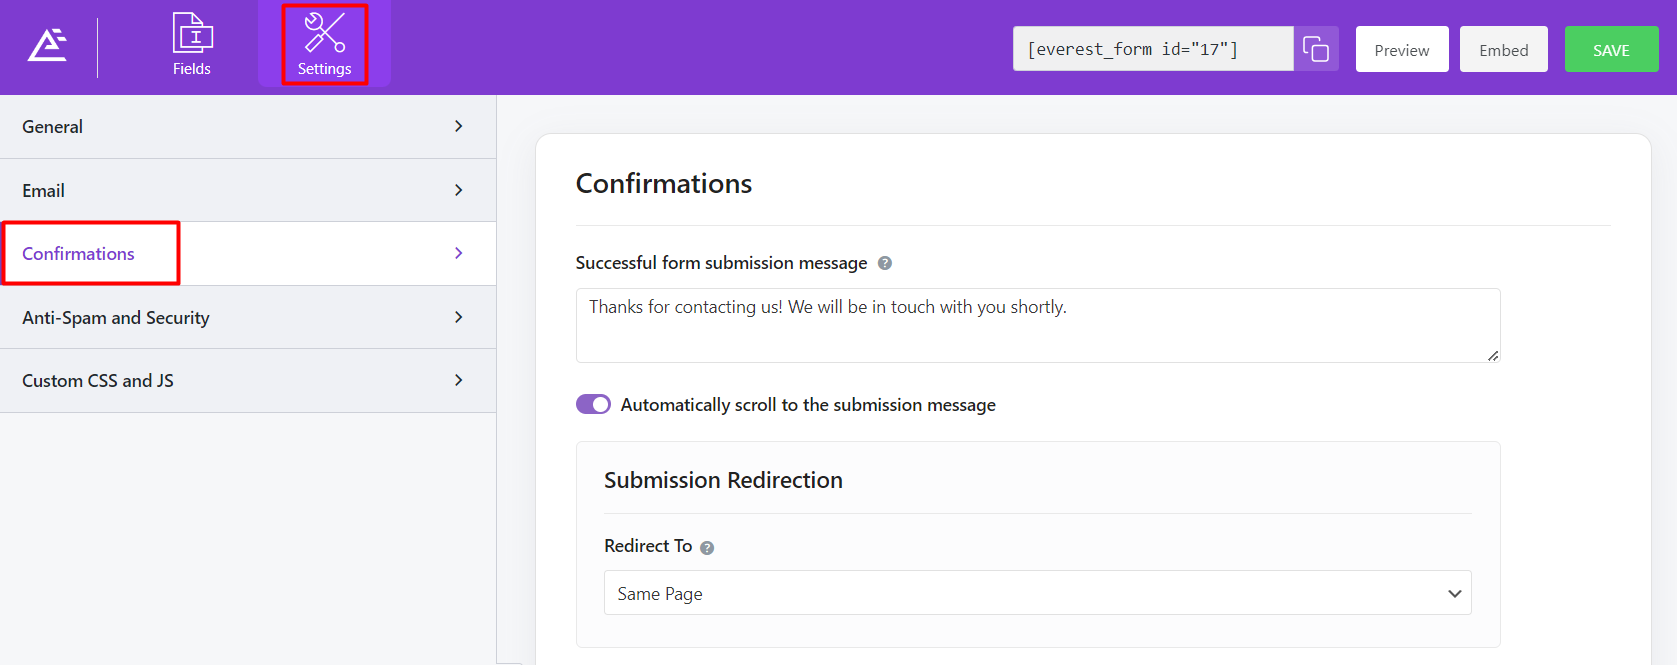
Successful form submission message #
Text displayed to your users after you have successfully received their forms.
Automatically scroll to the submission message #
Enable this feature to scroll the form, automatically to the submission message, after a successful from submission.
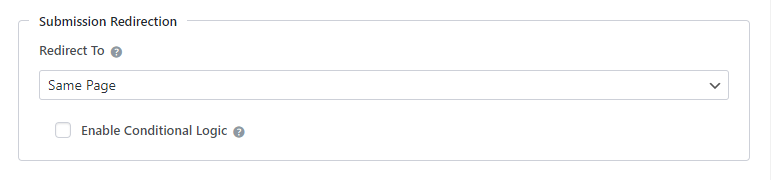
Submission Redirection #
Lands the user to the desired URL after the form submission. Once the form is submitted you can choose to redirect to any custom link, or WordPress Page, or remain on the same page. The drop-down has three options
- Same Page: By default Same Page is selected. This means once the form is submitted, the user will remain on the same page.
- Custom Page: If Custom Page is selected in the dropdown, a new option Custom Page will show up just below the Redirect To option. This new option will have all your pages listed. You can select any one page from the drop-down where you wish to redirect. Here, you can also pass the field data via Query String.
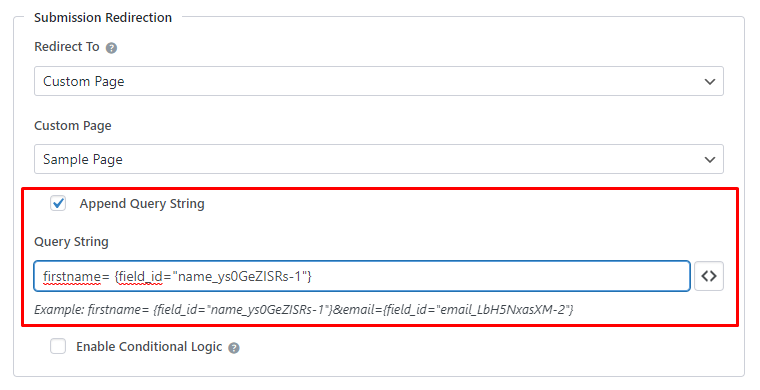
Wanna know more about auto-populating form fields with append query string?
Also, check this out to auto-populate one form's data to another.
Note: The WordPress reserved strings can't be used for appending via Query Strings. For more details, visit https://developer.wordpress.org/reference/functions/register_taxonomy/
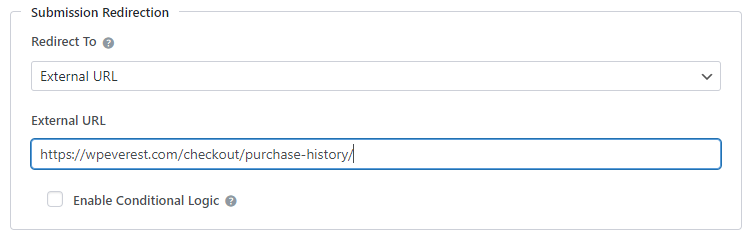
- External URL: If External URL is selected then a new input field option will show up. One can enter any custom URL where you would like the user to be redirected after submitting the form.
The conditional logic option appears only on the Everest Forms Pro versions.
Show entry preview after submission #

Enable this option to let the users see their form submission entry after they submit the form. You can choose from the basic, table, and compact preview types.


