Do you want to display the entries of your forms on your site’s frontend? It is possible to do so with this add-on. Follow the simple steps below and you can showcase the entries on any page on your website.
Installation #
- Firstly, you need to purchase the Everest Forms Pro plugin.
- After the successful purchase, you will get the plugin zip file under your WPEverest account page.
- Now, you can download the Everest forms pro plugin and Frontend Listing add-on from there.
- Through your WordPress Dashboard, visit Plugins -> Add New -> Upload and then choose the downloaded zip file and then install and activate it.
- Now you are ready to use this add-on for your site.
Alternative Method:
- Once you have entered the Everest Forms Pro license on your site, go to Everest Forms > Add-ons.
- Search for the ‘Frontend Listing‘ add-on.
- Click on ‘Install‘.
- Once the installation is finished, click on ‘Activate‘. The add-on will be activated.
Setup and Configuration #
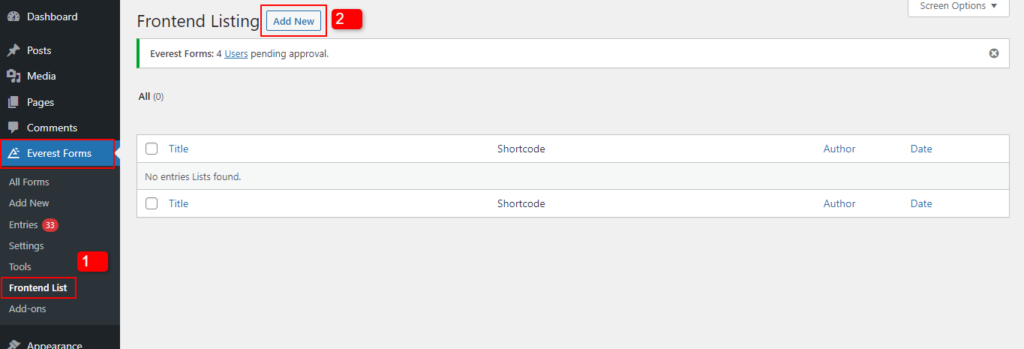
Once you have finished installing the add-on, you will have to create frontend listing/s as per your requirements. For this, go to Everest Forms > Frontend Listing > Add New.
Creating a List #
After clicking on the ‘Add New’ button, you will be able to create a new frontend listing.
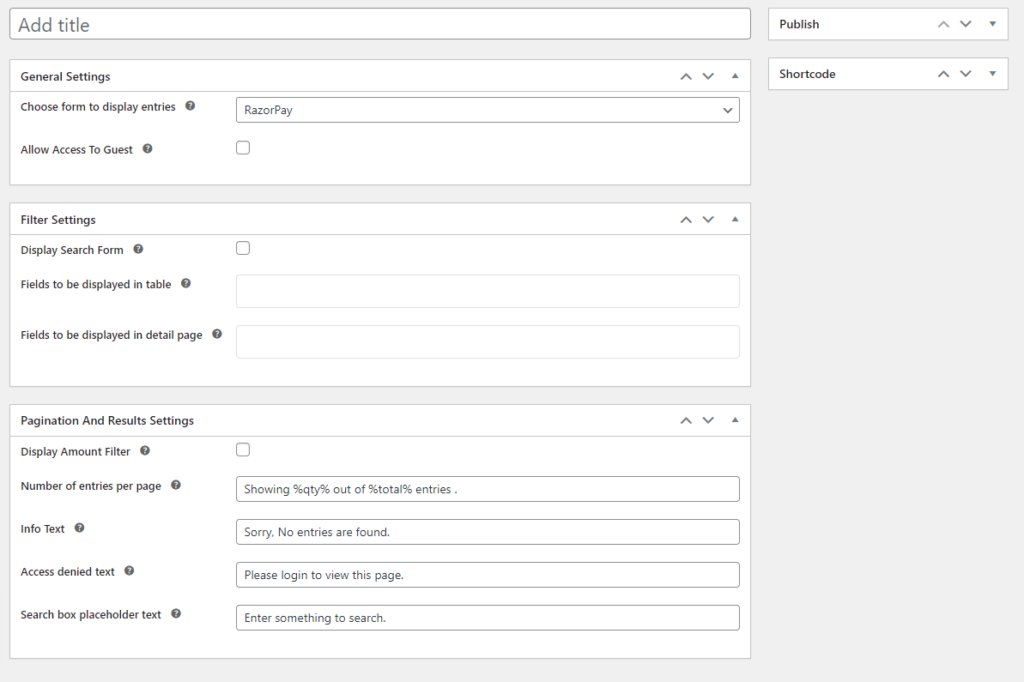
Add Title: You can add a title to the listing you are creating. For example, New Listing, etc.
General Settings: Here, you can choose the form whose entry you would like to show on the frontend list. Also, you can allow guests to view the listing from the General Settings metabox.
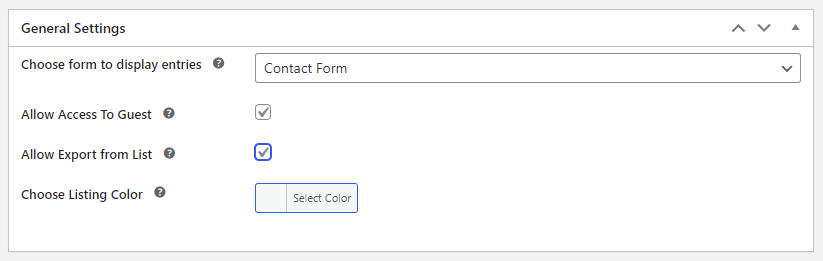
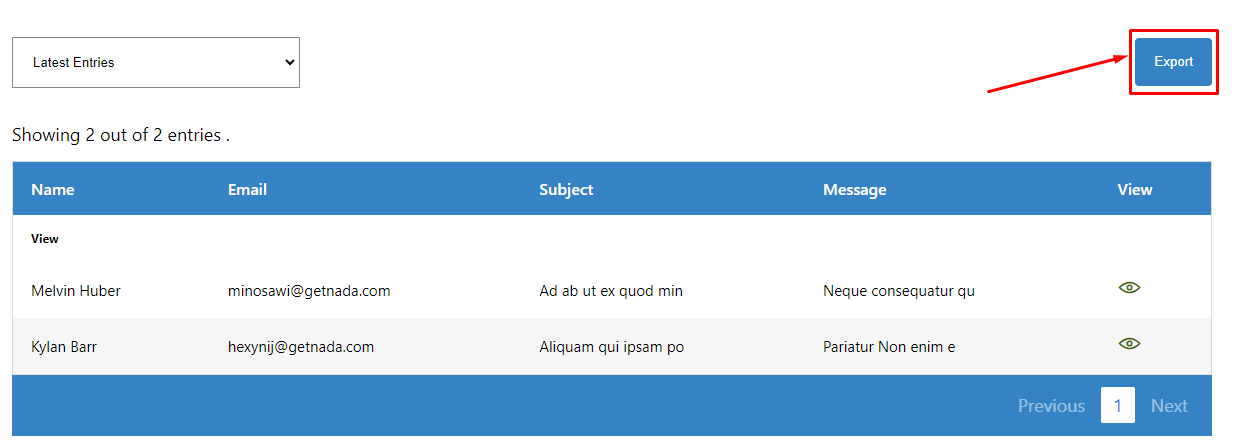
Enable ‘Allow Export from list‘ to allow the users to export the user’s lists into a CSV from the front end. Now, the users can export the lists from the front end.
Filter Settings: This can also be taken as the content settings for the front-end lists. Here, you can select what fields to appear on the list and what fields to appear on the main detail page for each item on the list. In addition to this, you can also show/hide the search bar from here.
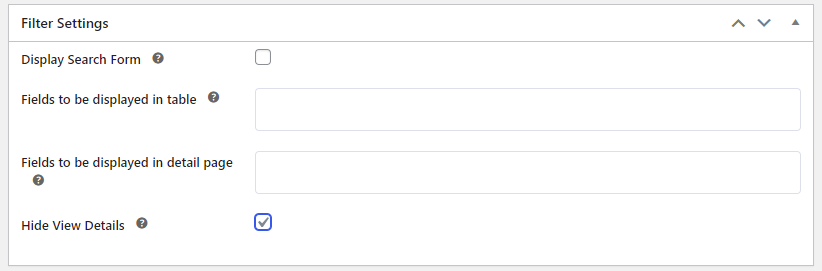
These settings will help you set a search option from the list. You can choose fields to display in the table and details page as well. Or, you can hide the ‘View Details‘ button.
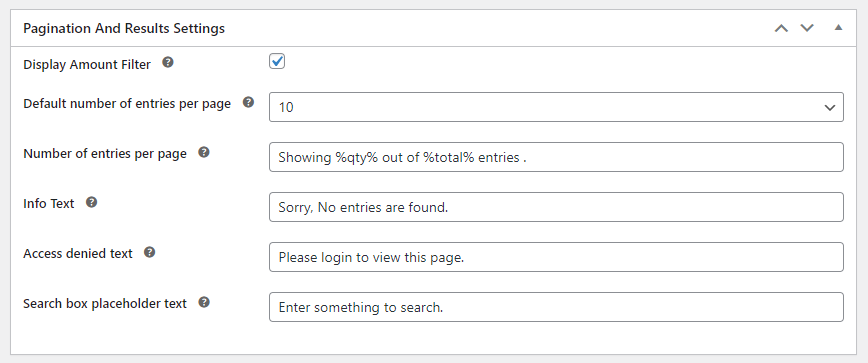
Pagination And Results Settings: Using this setting, you can configure the total amount of the entries that can be seen on the list. Similarly, you can also add custom texts for different sections like information text, text to show when access is denied, and the placeholder text of the search box.
Adding the List on a page/post. #
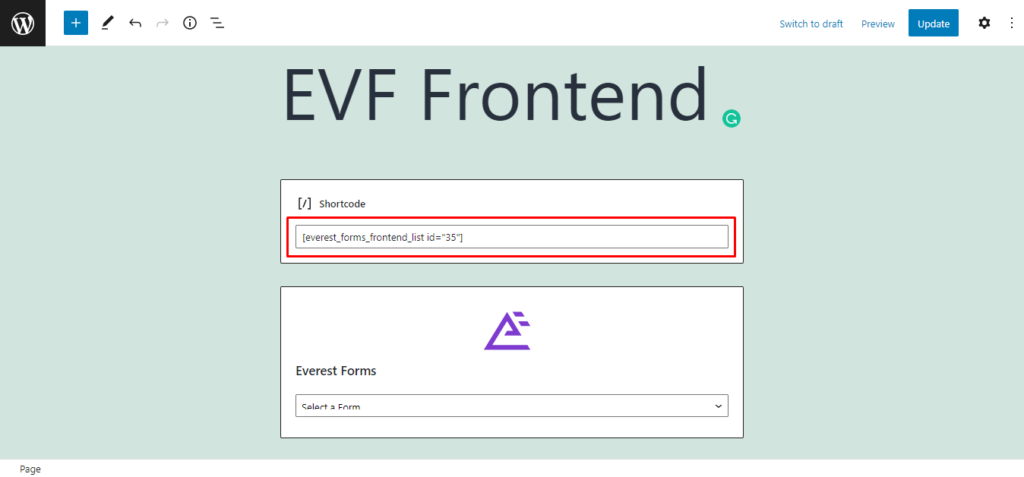
Once all the configuration has been finished, you can copy the shortcode on the ‘Shortcode’ meta box and add the shortcode on the page/post where you would like to display the frontend lists.
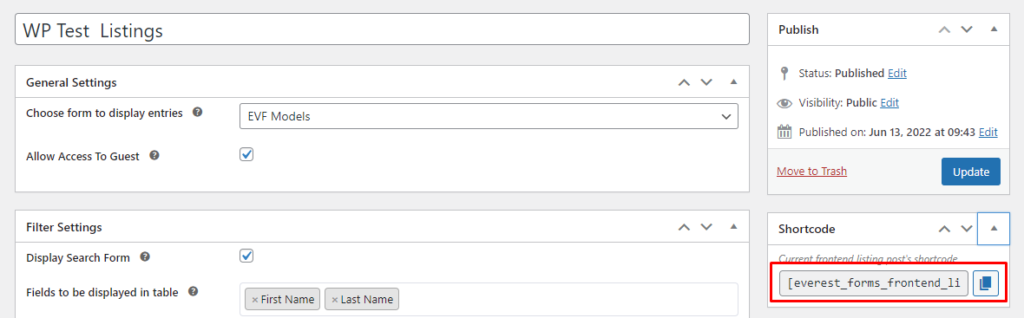
Copy the shortcode and paste it on a block on the required page/post and hit ‘Update’.
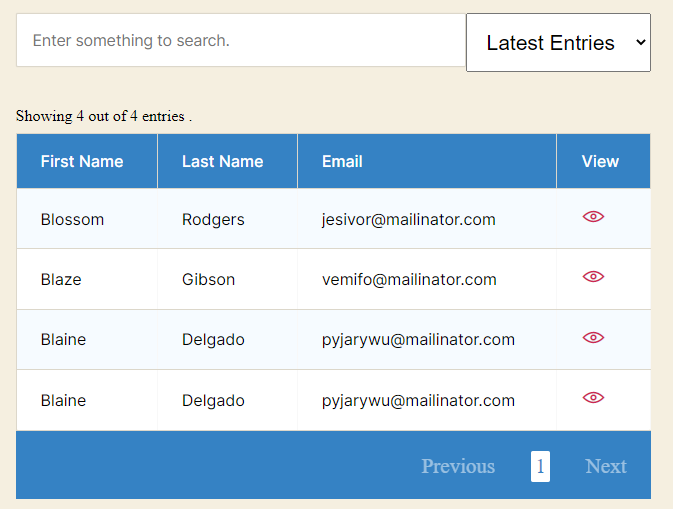
Now. the list is ready to be viewed on the frontend of your website. It will look as below:
Frontend View: #
Main List View:
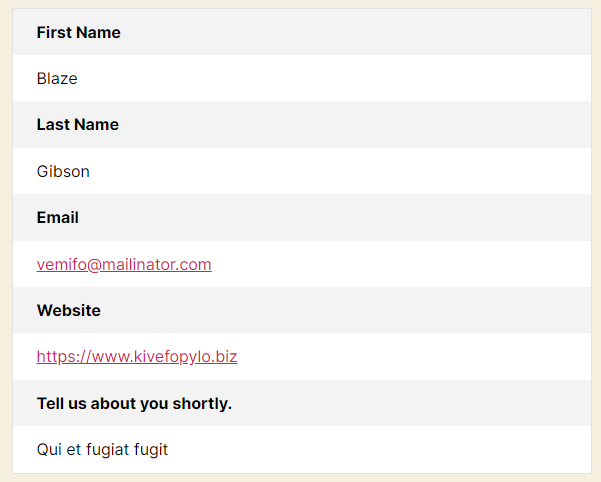
Detailed View:
For the detailed view, click on the eye button on ‘View’ column.